This is part two in our fitness use case series on how to build a custom Daily fitness app.
Recently at Daily, we’ve been thinking more about how to support specific app use cases, like fitness apps with real-time video.
Over time and through conversations with customers, we’ve learned that there are several features that are pretty specific to fitness apps. To help support our fitness customers, we’ve put together this tutorial series on how to get the most out of your Daily fitness app.
In our first fitness series post, we introduced our new fitness demo app and linked to a bunch of relevant existing tutorials to get the basic feature set built out.
Today, we’ll focus on a couple specific muting features to help instructors get their students focused:
- Adding “Mute all” buttons for student microphones and cameras
- Adding an auto-mute feature when the instructor starts a class
Getting set up
In today’s tutorial, we’ll look at Daily’s open source examples repo, which has a fitness demo with “Mute all cameras” and “Mute all microphones” buttons included.

Once we’ve covered how those buttons work, we’ll then add an auto-mute feature ourselves so instructors can get started as soon as they join.
To start, let’s get the demo running locally:
You’ll need to fork our examples monorepo, which has a large collection of different Daily use cases/features (it’s worth checking out!)
The fitness demo is in the /custom/fitness-demo directory.
From the fitness demo’s directory, you can copy over the sample environment variable file like so:
mv env.example .env.localYou’ll then need to update the .env.local file with your own Daily domain and Daily API key, which can be found in the Daily dashboard. (Your domain is the name you chose for your account. It serves as the subdomain for any Daily room links: https://DOMAIN.daily.co/ROOM-NAME).
From the root of the examples repository, you’ll then need to install its dependencies and start your local server:
yarn
yarn workspace @custom/fitness-demo dev
Finally, you can navigate to localhost:3000 in the browser of your choice, and you should see the fitness app.
Listen up: Muting participants to focus their attention
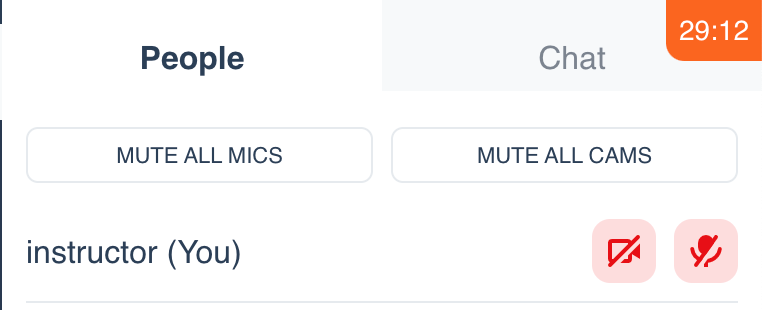
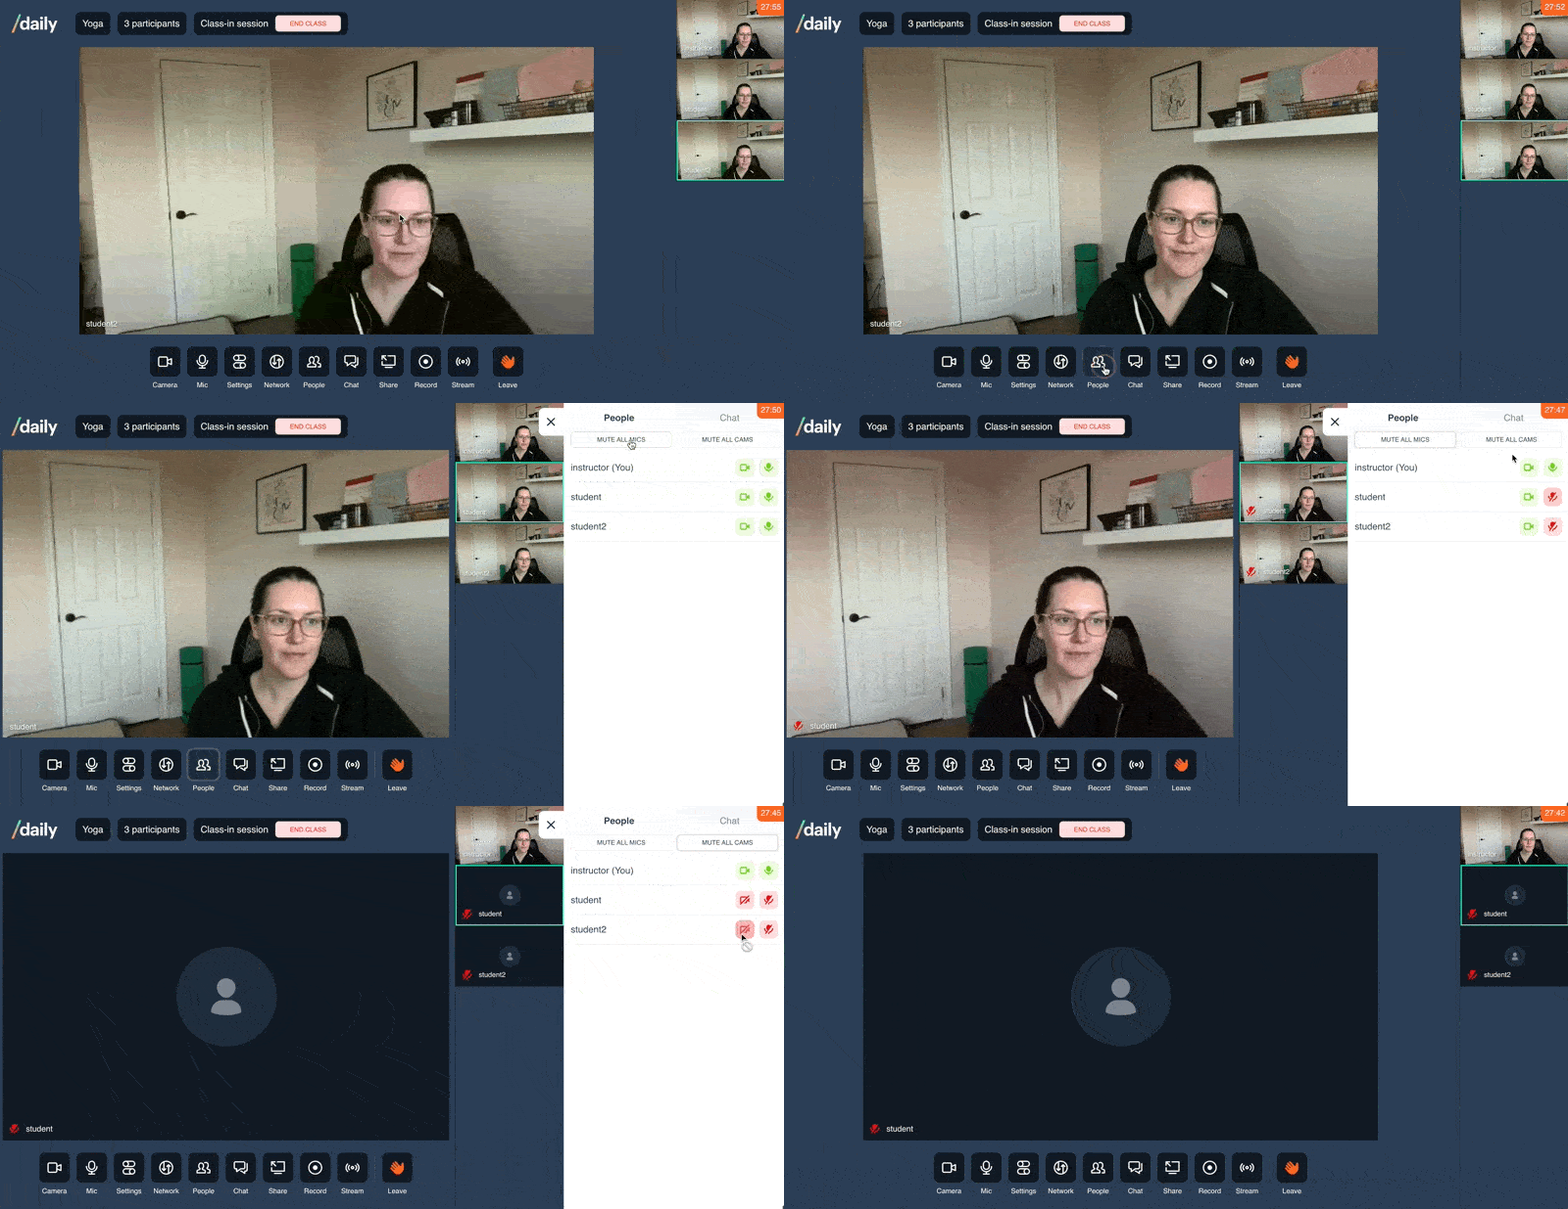
The “Mute all” buttons for cameras and microphones are located in the PeopleAside component in our fitness demo app.
Let’s look at a simplified version of the component to highlight the sections relevant to this feature:
export const PeopleAside = () => {
 const { callObject } = useCallState();
 const { participants, isOwner } = useParticipants();

 const muteAll = useCallback(
   (deviceType) => {
     // included in detail below
     …
 );

 const handleMuteAllAudio = () => muteAll('audio');
 const handleMuteAllVideo = () => muteAll('video');

 if (!showAside || showAside !== PEOPLE_ASIDE) {
   return null;
 }

 return (
   …
     <div className="people-aside">
       {isOwner && (
         <div className="owner-actions">
           <Button
             fullWidth
             size="tiny"
             variant="outline-gray"
             onClick={handleMuteAllAudio}
           >
             Mute all mics
           </Button>
           <Button
             fullWidth
             size="tiny"
             variant="outline-gray"
             onClick={handleMuteAllVideo}
           >
             Mute all cams
           </Button>
         </div>
       )}

...Muting the cameras or microphones of class participants is almost identical, so let’s use muting microphones for our example.
The PeopleAside component renders a button with the handleMuteAllAudio click event.
<Button
    fullWidth
    size="tiny"
    variant="outline-gray"
    onClick={handleMuteAllAudio}
>
    Mute all mics
</Button>handleMuteAllAudio calls the muteAll function and passes audio for the “device type” parameter:
const handleMuteAllAudio = () => muteAll('audio');Let’s step through muteAll to see what happens next:
const muteAll = useCallback(
   (deviceType) => {
     let updatedParticipantList = {};
     // Accommodate muting mics and cameras
     const newSetting =
       deviceType === 'video' ? { setVideo: false } : { setAudio: false };
     for (let id in callObject.participants()) {
       // Do not update the local participant's
       // device (aka the instructor)
       if (id === 'local') continue;

       updatedParticipantList[id] = newSetting;
     }

     // Update all participants at once
     callObject.updateParticipants(updatedParticipantList);
   },
   [callObject]
 );
- We start with an empty object (
updatedParticipantList) - We then decide if we need to use the
setVideoorsetAudioproperty based on whether the device type parameter was passed - Next, we get our participants object with the
participantsmethod, which uses the current participant session IDs as keys - Then, we update our
updatedParticipantListobject to have an item for each participant, with the ID as the key and thenewSettingobject we created above as the value - Finally, we call
updateParticipantsto mute all our participants in one go. This method can be used for updating a list of participants’ video state, too. It’s super useful!
You’ll also notice we don’t mute the local participant. This is because only instructors can mute students, so we can assume the person who clicked the button (the local participant) is an instructor. Since the instructor is muting participants to focus everyone’s attention on their video, we can also assume they’re not trying to mute their own microphone, too.

Now with a single click, you can mute your students’ audio (and video!) while you’re teaching.
Auto-muting on class start
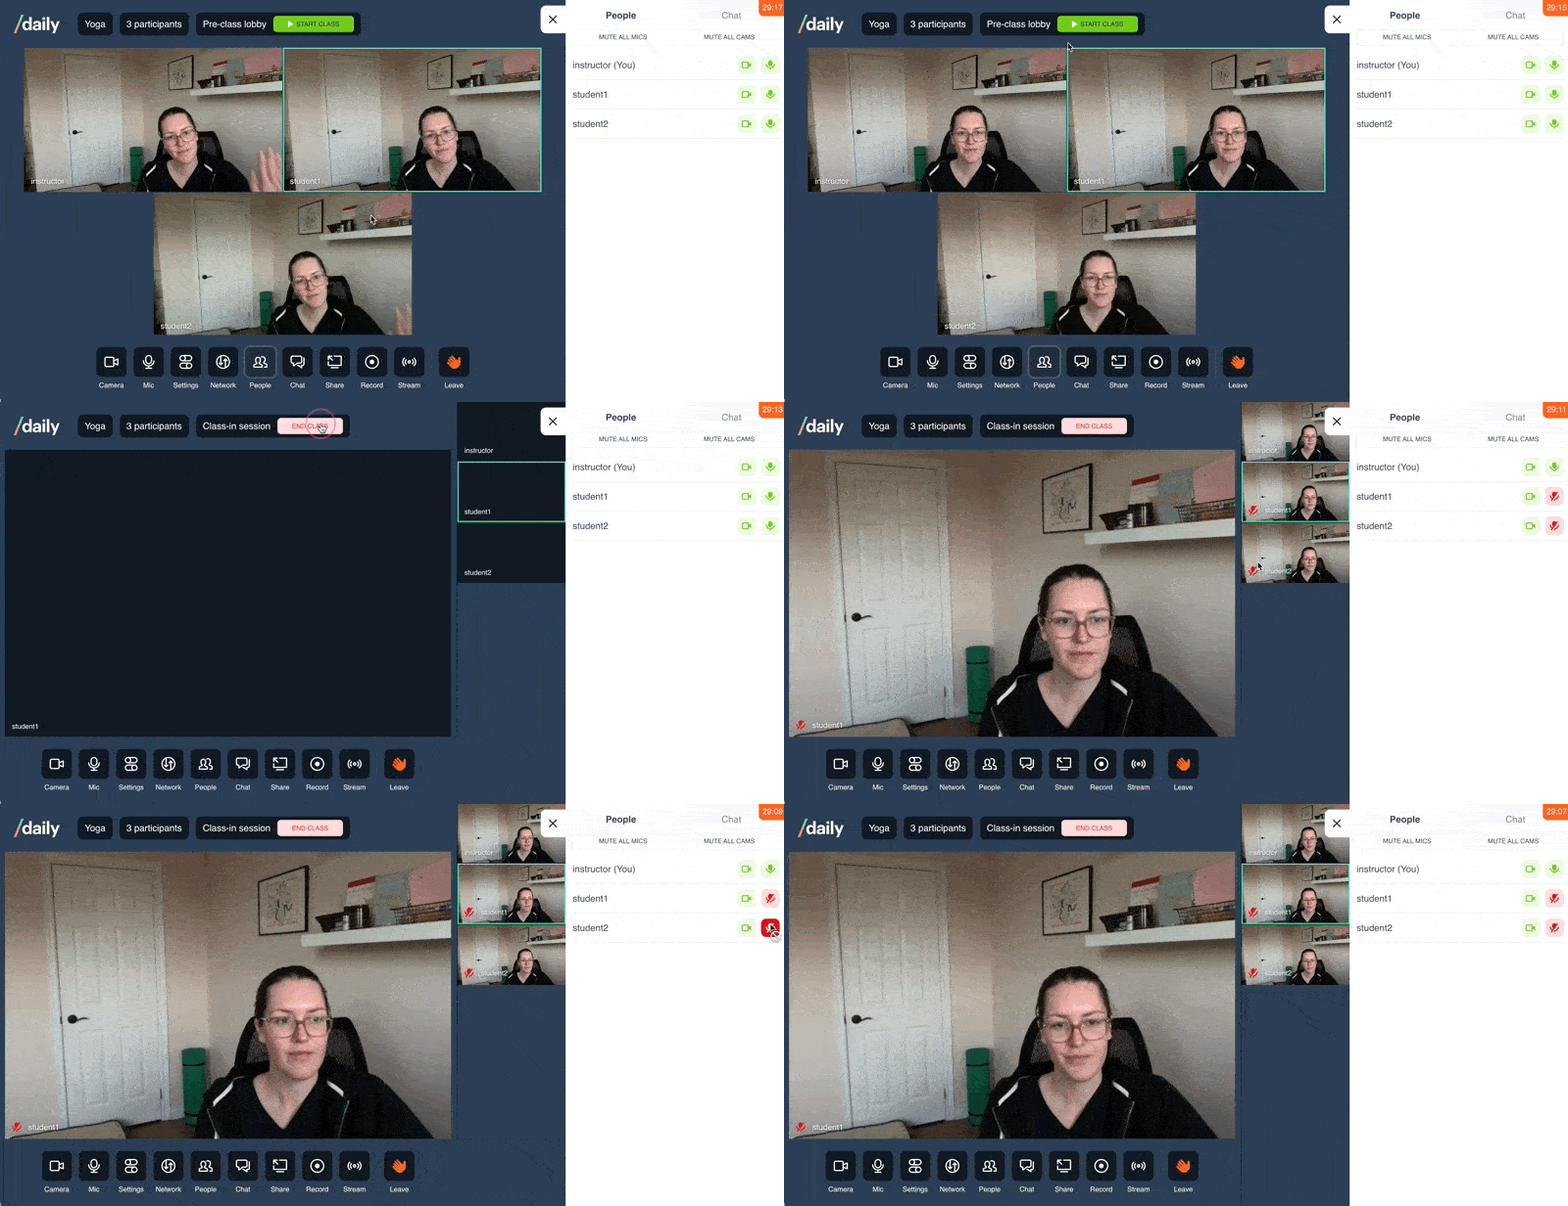
As with most features, there’s often an even simpler UX design than the first iteration. With our example above, the instructor can open the People panel to click the “Mute all” buttons.
But what if the students were just automatically muted when the class started. 🤔
This feature isn’t currently built into our fitness demo app, but let’s look at how you could add it yourself.

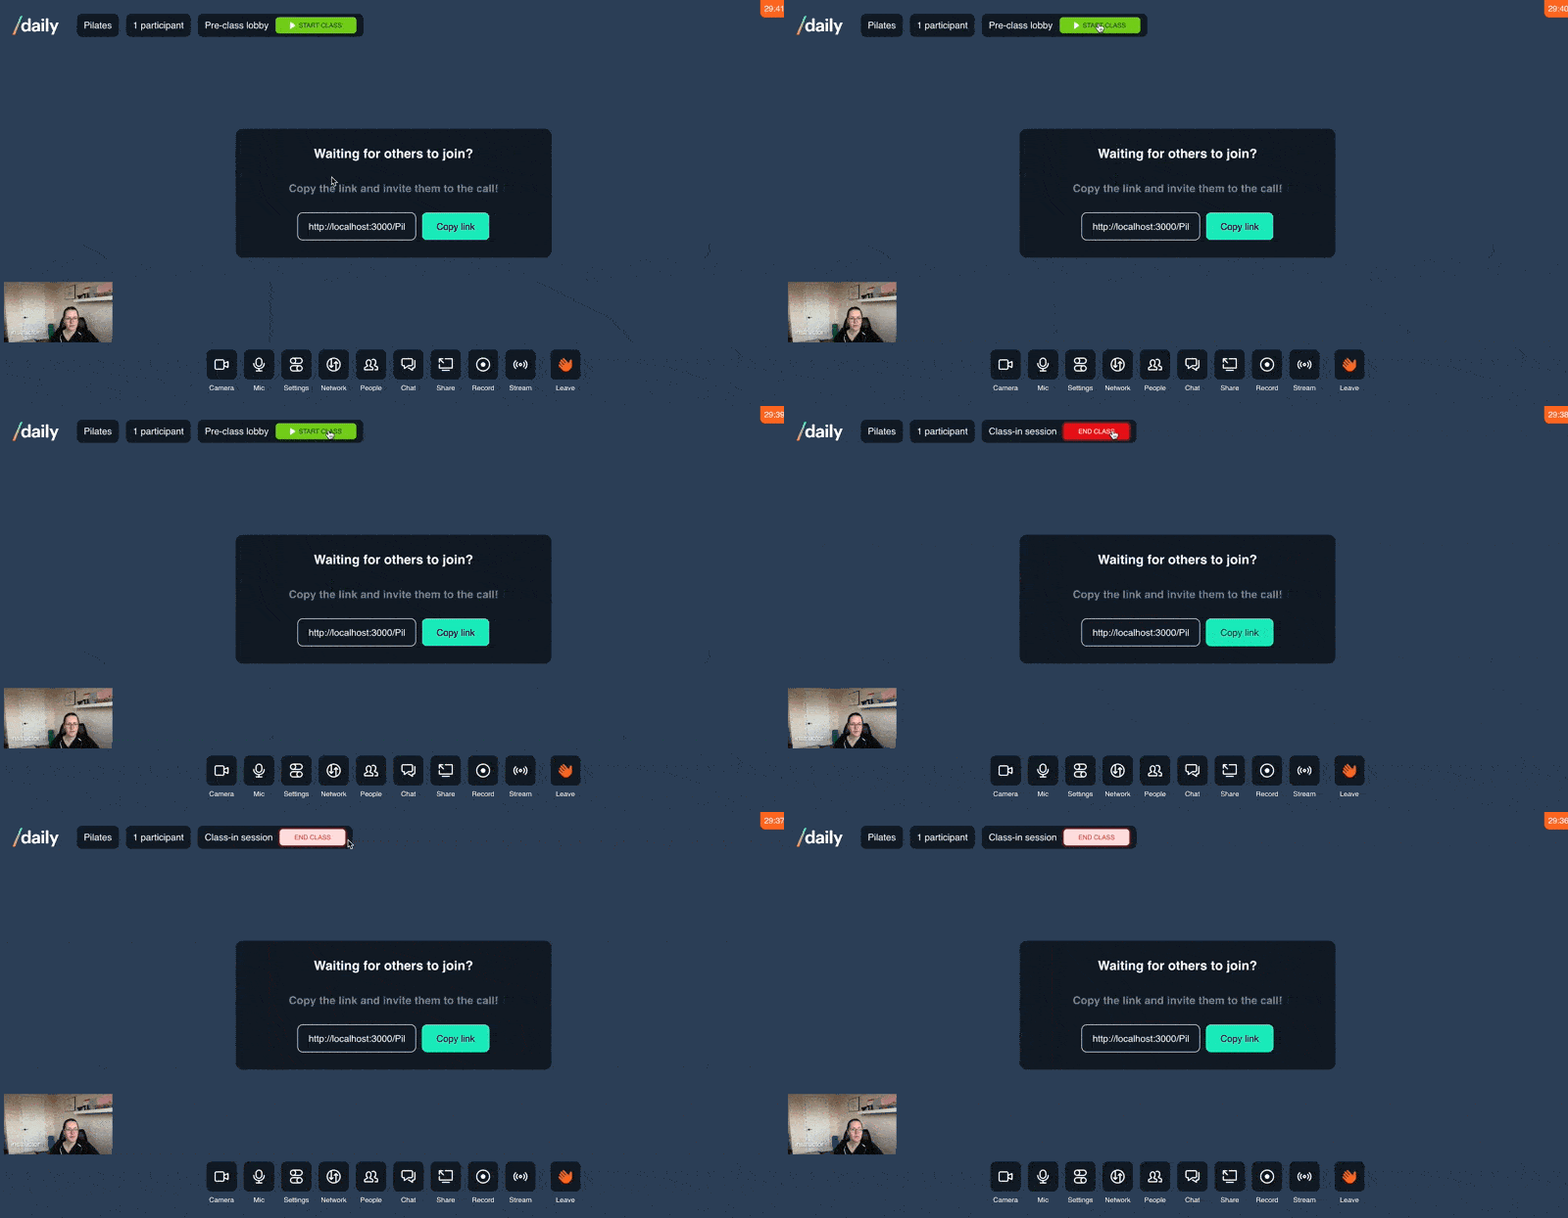
As shown above, we have a button the instructor has to press to officially start the class.
That button is located in the Header component and conditionally renders based on the class’s state (i.e. whether the class has started or not).
export const Header = () => {
 …
 const { classType, setClassType } = useClassState();

 const capsuleLabel = useCallback(() => {
   if (!localParticipant.isOwner) return;
   if (classType === PRE_CLASS_LOBBY) {
     return (
       <Button
         IconBefore={IconPlay}
         size="tiny"
         variant="success"
         onClick={setClassType}
       >
         Start Class
       </Button>
     )
  }
 }
...On click, the button calls setClassType, which just updates local state in the ClassStateProvider:
 const setClassType = useCallback(() => {
   if (sharedState.type === PRE_CLASS_LOBBY) {
       setSharedState({ type: CLASS_IN_SESSION });
   }
   if (sharedState.type === CLASS_IN_SESSION) {
       setSharedState({ type: POST_CLASS_LOBBY });
   }
 }, [sharedState.type, setSharedState]);
Let’s update this part of our Header component to add the extra step of muting all remote participants, too (i.e. our students!)
export const Header = () => {
 const { roomInfo, callObject } = useCallState();
 const { classType, setClassType } = useClassState();

 const muteAllAudio = useCallback(() => {
   let updatedParticipantList = {};
   const newSetting = { setAudio: false };
   for (let id in callObject.participants()) {
     if (id === 'local') continue;
     updatedParticipantList[id] = newSetting;
   }

   // Update all participants at once
   callObject.updateParticipants(updatedParticipantList);
 }, [callObject]);

 const handleStartClass = useCallback(() => {
   setClassType();
   muteAllAudio();
 }, [muteAllAudio, setClassType]);
 ...
Here, we’ve added a muteAllAudio function to our Header component. It does the exact same thing as our muteAll function mentioned in the previous section, except it only accommodates muting audio.
Note: If your DRY (Don’t Repeat Yourself) alarms 🚨 are going off, don’t worry. We’d likely refactor this code a bit if we were actually adding it to the codebase so that both the “Mute all” buttons and auto-mute functionality would use the same muting function. We’ll allow the duplication for now since we’re more focused on how this works than actually adding it.
Then, we add another new function called handleStartClass, which calls setClassType (the function our button used to call) and calls muteAllAudio right after. That means it will start our class and mute student microphones as a second step.
As a final step, we can update our button to use our new handleStartClass function on click, like so:
 const capsuleLabel = useCallback(() => {
   if (!localParticipant.isOwner) return;
   if (classType === PRE_CLASS_LOBBY)
     return (
       <Button
         IconBefore={IconPlay}
         size="tiny"
         variant="success"
         onClick={handleStartClass}
       >
         Start Class
       </Button>
     );

And with just a little extra code, we can help our fitness instructor get started even faster!
Wrapping up
In today’s tutorial, we looked at using updateParticipants to mute all our participants in one go via “Mute all” buttons or a “Start class” button. Both are good options depending on your feature set.
If you wanted to take it up a notch, you could even use React’s useEffect hook to listen for when the classType updates to “in class” instead of muting in the button click handler. (There are always lots of ways to achieve the same goal. 😼)
In our next post, we’ll look at more features that can be added when a class starts, including recording the class and updating our page layout.

