
This post is part of Daily's webinar blog series on how to build your own webinar platform using Daily Prebuilt and a custom chat widget.
The webinar (or “broadcast”) format for video calls creates an interesting combination of UX requirements that dramatically differentiate it from a typical meeting. As part of our recent Daily Prebuilt release, we incorporated common feedback we’ve received to help developers take broadcast calls to the next level.
So, what exactly is a broadcast call? It means that only specific call participants (hosts) can turn on their microphones and cameras. Broadcast calls give more control to the flow of conversation in a meeting by providing specific people the opportunity to speak. This also often makes the conversation easier to follow for listening attendees.
The webinar format is a great example of a broadcast call because it typically involves one host providing information and answering questions related to their company or product. Webinars can also create more privacy for attendees by allowing them to “sit in” without needing to actively participate.
To help understand the recent updates related to broadcast calls in the Daily Prebuilt API, let’s take a deeper look at the configurable options.
How to create a broadcast room
Anyone with a Daily account can create a broadcast room through the Daily Dashboard or REST API.
From the Dashboard, when you create or edit a room, turn on the “Owner only broadcast” setting under the “Advanced room settings” section.
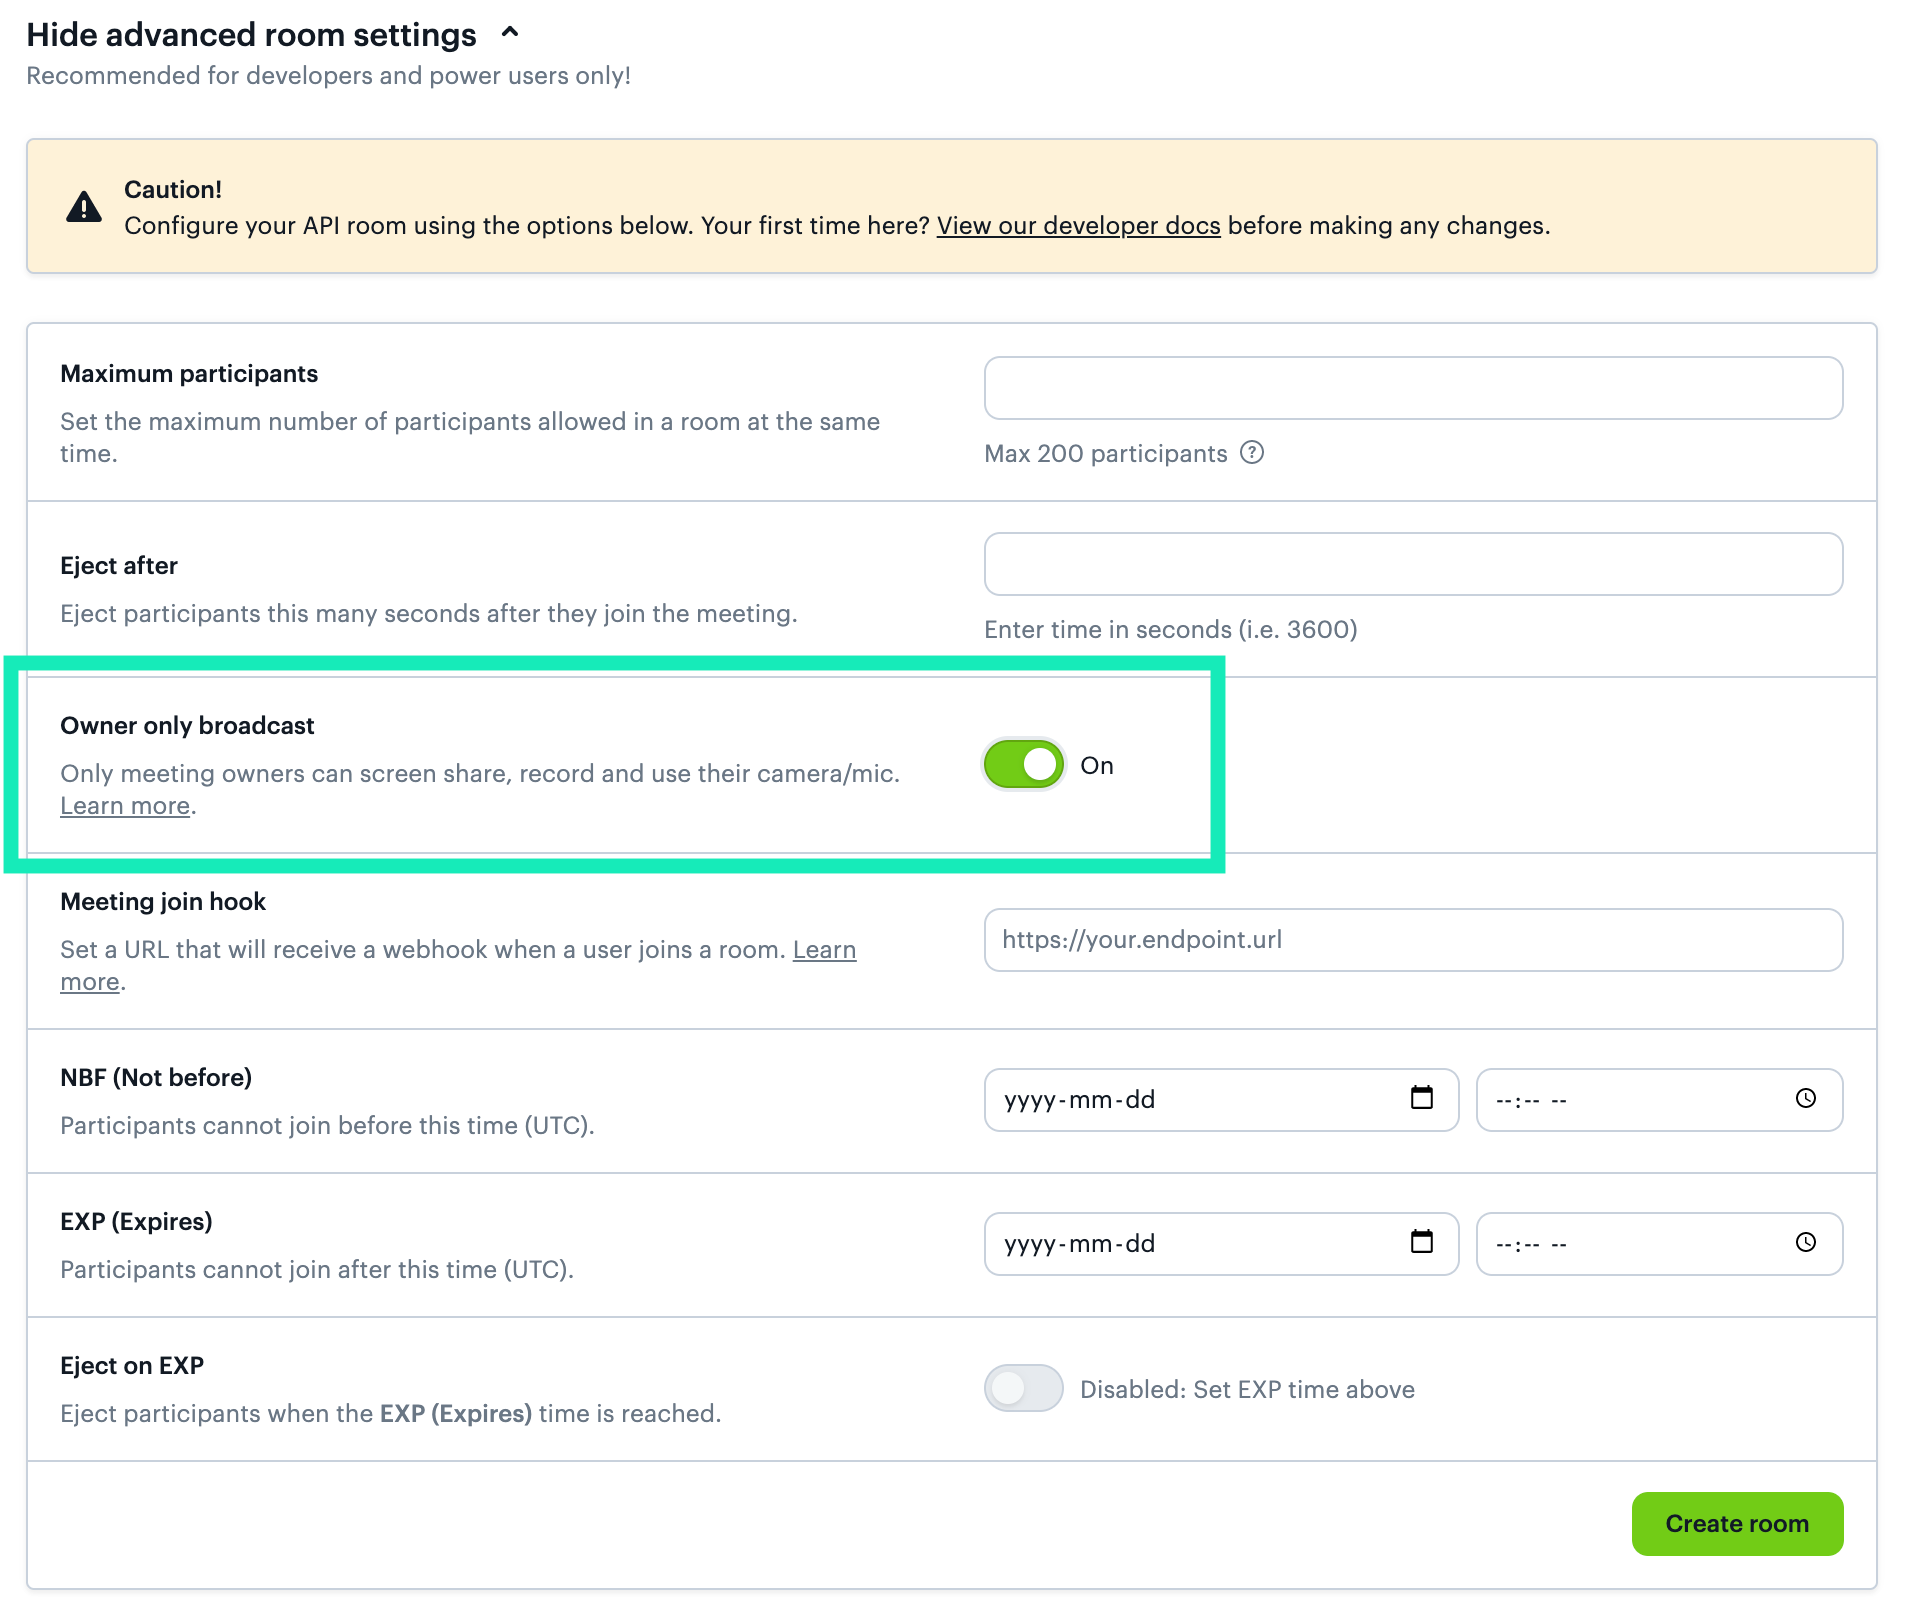
To create a broadcast room with the REST API, set the owner_only_broadcast room property to true.
Note: Your API Key is available through the Daily Dashboard. Be sure to keep it private and out of any git commits. 🙈
curl --request POST \
  --url https://api.daily.co/v1/rooms \
  --header 'Authorization: Bearer <API KEY>' \
  --header 'Content-Type: application/json' \
  --data '{"properties":{""owner_only_broadcast":true}}'
Creating a host for your broadcast call
To create a host for your broadcast call, you will need to make a meeting token with the property is_owner set to true for them to use when they join the call. Meeting tokens can be created through the REST API, as well.
curl --request POST \
  --url https://api.daily.co/v1/meeting-tokens \
  --header 'Authorization: Bearer <API KEY>' \
  --header 'Content-Type: application/json' \
  --data '{"properties":{"is_owner":true}}'
To learn more about meeting tokens, check out our previous posts on room access control and handling tokens in React.
Choosing additional settings for your next broadcast call
Now that we know how to create “owner only” broadcast rooms and meeting tokens for owners, let’s look at all the other configurations we can set for broadcast calls.
The main options are:
- Private vs. public rooms
- Showing the prejoin UI for hosts before joining the call
- Showing the name form for attendees before joining the call
- Whether knocking to enter is enabled for private rooms
- Whether chat is enabled in the room for attendees
Public vs. private broadcast rooms
It can be difficult to know exactly what settings to have for each use case. Using the webinar example, making a room private will depend on factors like:
- Are only very specific attendees welcome in the call?
- Does the host prefer to let attendees in to manage the flow of people entering?
- Does the host want to enforce a cut off time for joining?
- Is anyone with the link allowed to view the call?
If the answer to any of the first three questions is “yes”, a private room is likely a better option. If the answer to the last question is “yes”, a public room provides an easier to manage option for the webinar host.
All rooms are public by default. To make the room private, set the privacy room property to private through the Dashboard or REST API. (Privacy settings can be edited after creating a room, as well.)
url --request POST \\
--url https://api.staging.daily.co/v1/rooms \
--header 'Authorization: Bearer <API KEY>' \
--header 'Content-Type: application/json' \
--data '{"properties":{"enable_prejoin_ui":true,"owner_only_broadcast":true},"name":"room_name","privacy":"private"}'
Make a good first impression with the prejoin UI
We’ve all been there: you start a presentation and realize you have something in your teeth or your microphone isn’t working. Instead of starting strong, you’re scrambling to get yourself in order. To help prevent moments like these, we added a new setting for all rooms in the Daily Prebuilt API: enable_prejoin_ui.
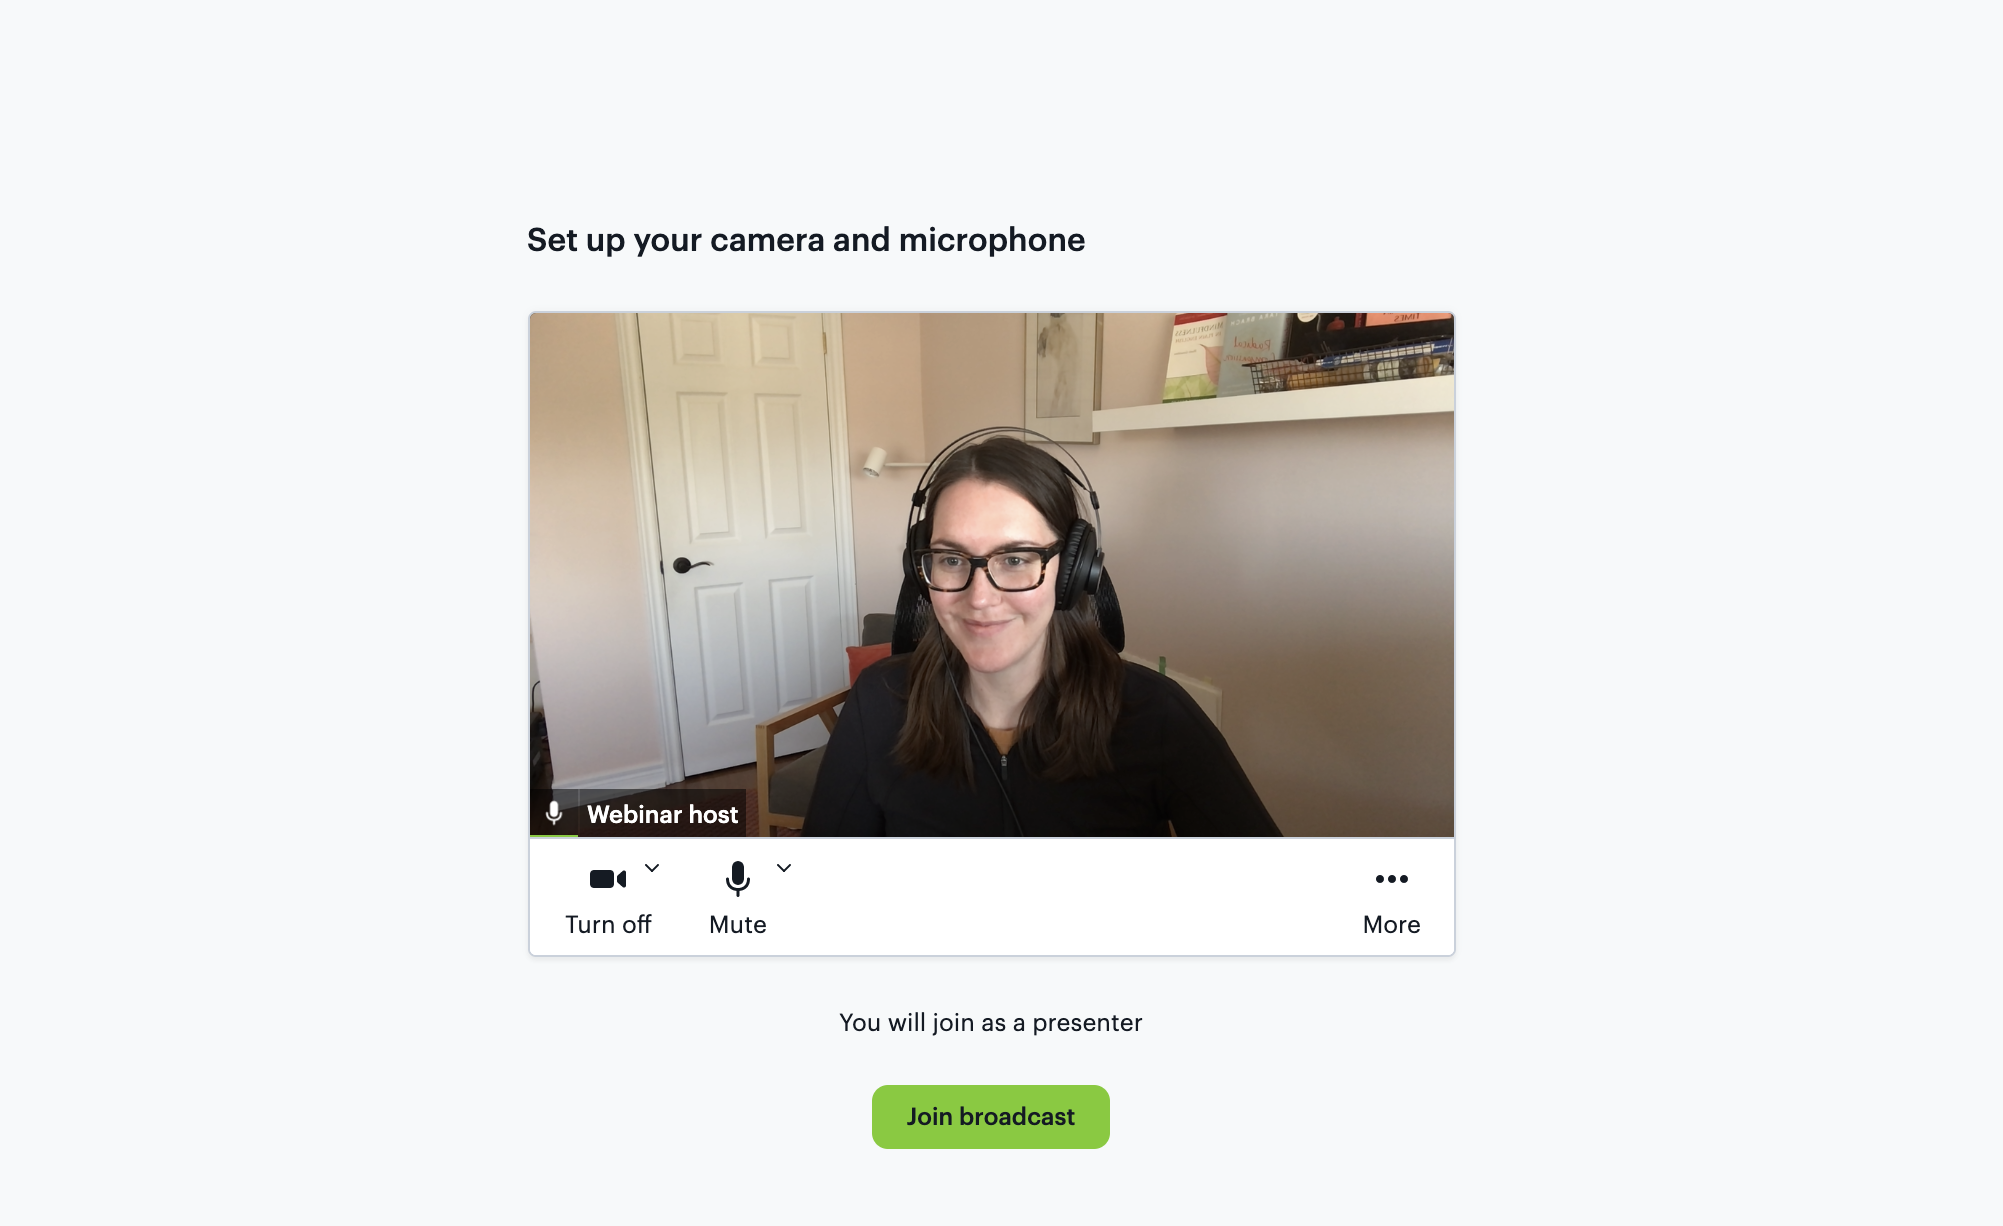
When enabled in broadcast calls, the prejoin UI helps hosts set up devices and make sure there’s nothing on their face before starting a presentation.
Since broadcast call attendees can’t turn on their devices by default, attendees will instead see a name form so they can let hosts see who is present in the call.
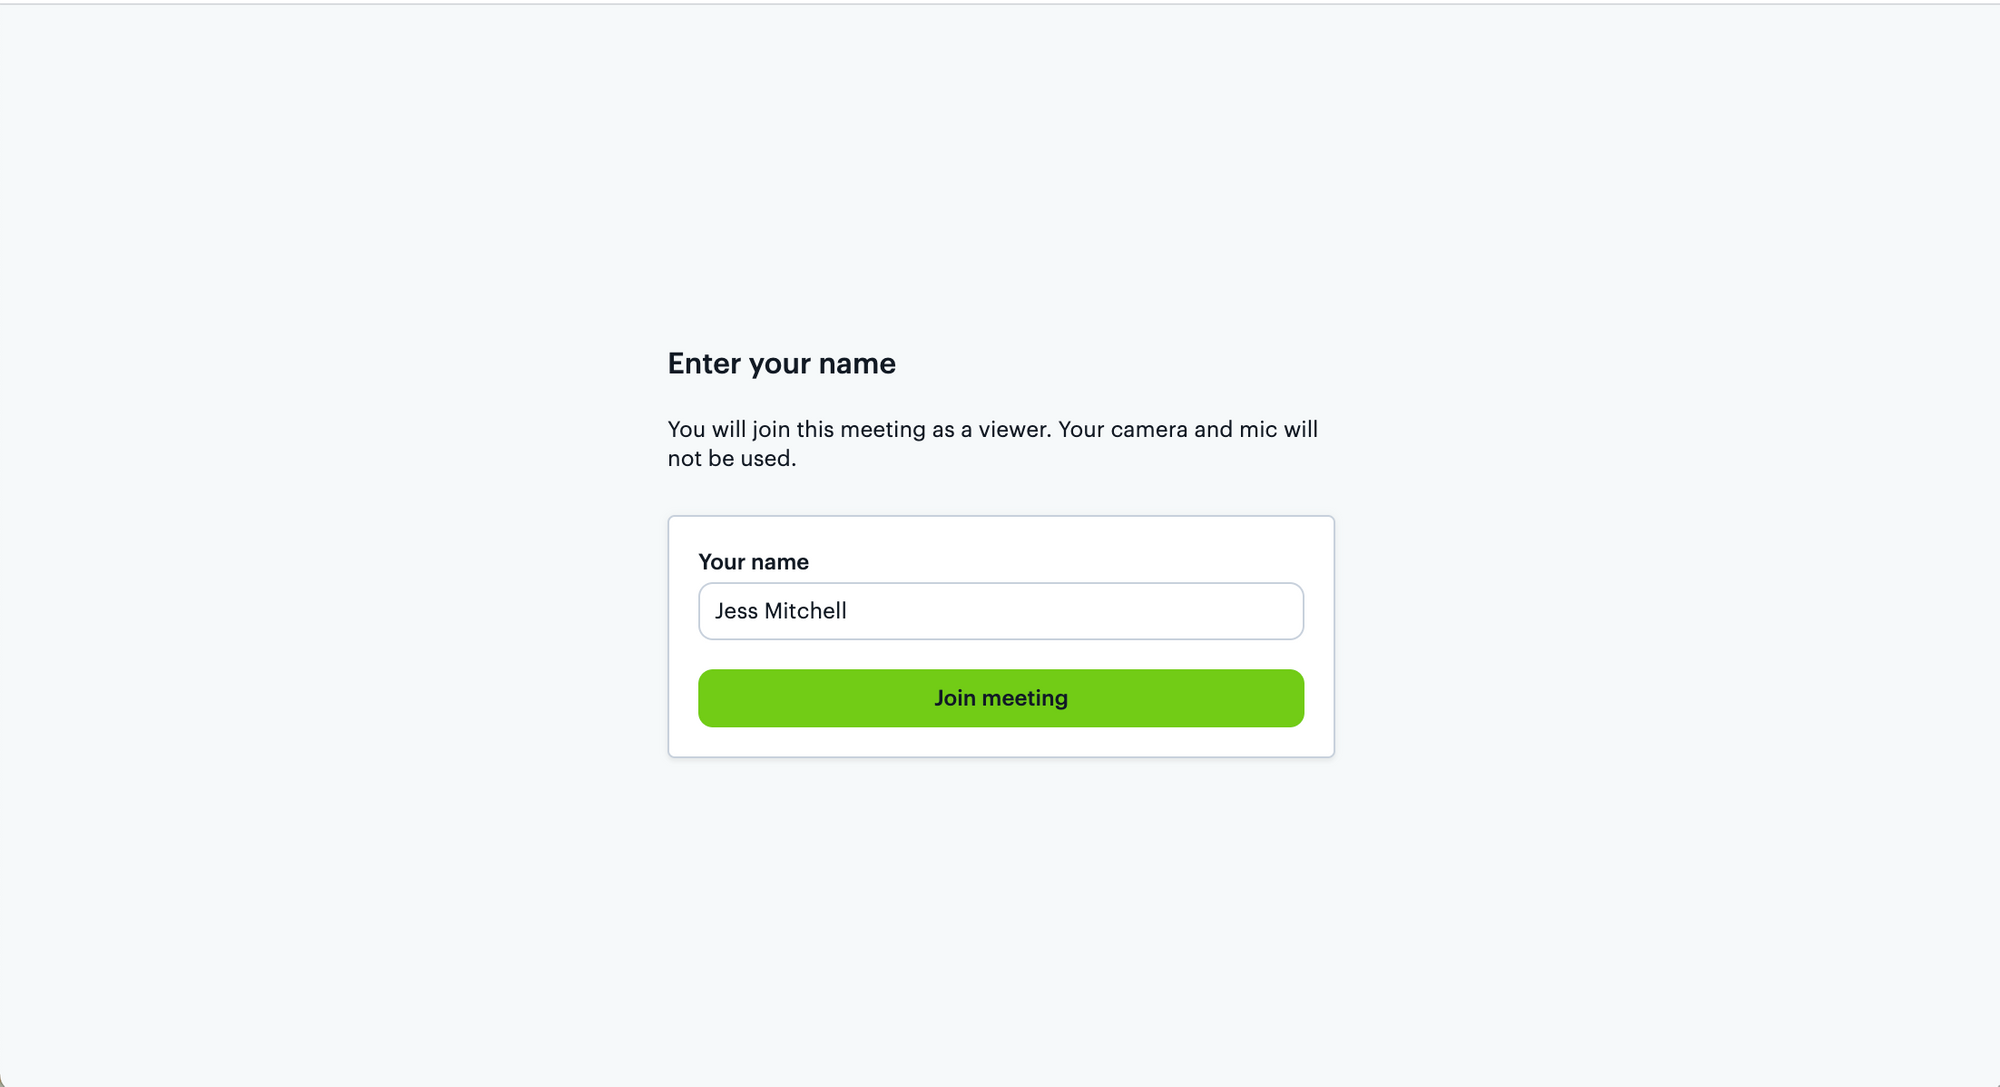
Note: Hosts can update their names from the Settings in the prejoin UI.
Knocking on webinar’s door
Knocking (or enable_knocking if you’re looking at the room properties) lets attendees without tokens ask the owner of a private room to join the call. This setting applies to all private rooms but can be helpful especially for broadcast rooms.
When an attendee tries to join a private broadcast room, they will “knock” from the name form and see this view:
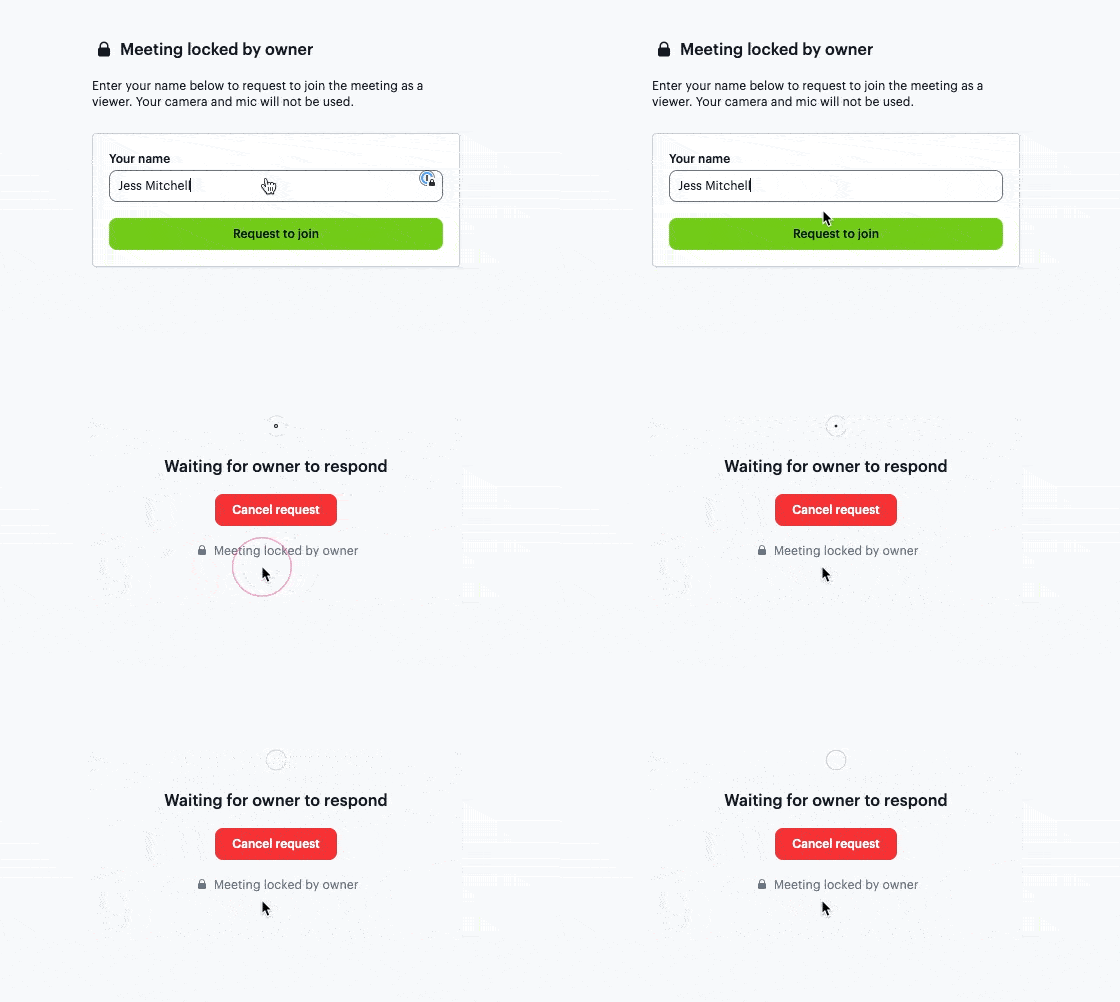
From the meeting owner’s perspective, they will receive a notification in the call where they can manage all knocking requests.
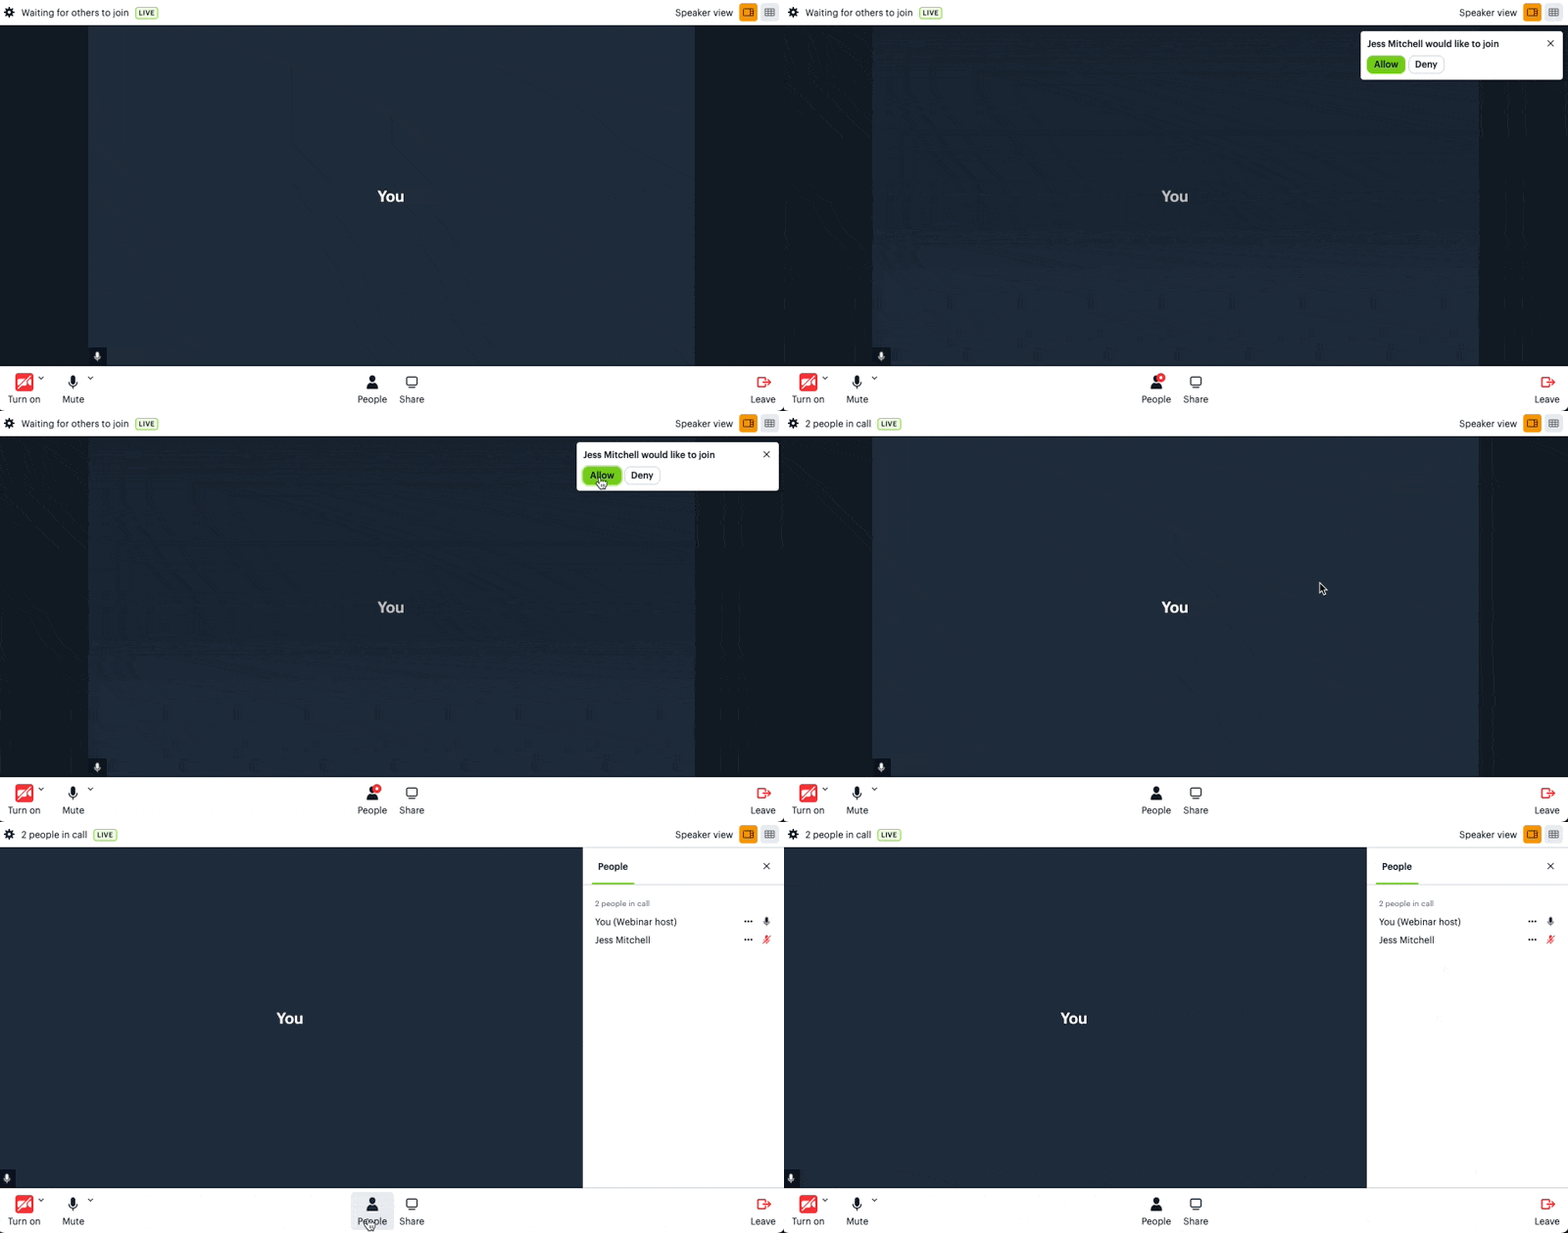
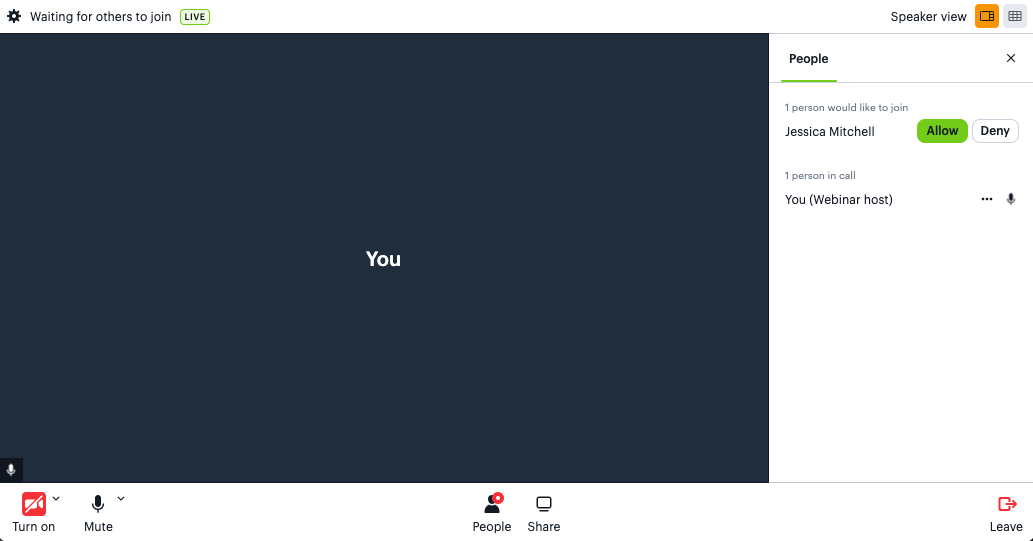
Attendees can also be managed from the People panel if the host prefers not to receive notifications.
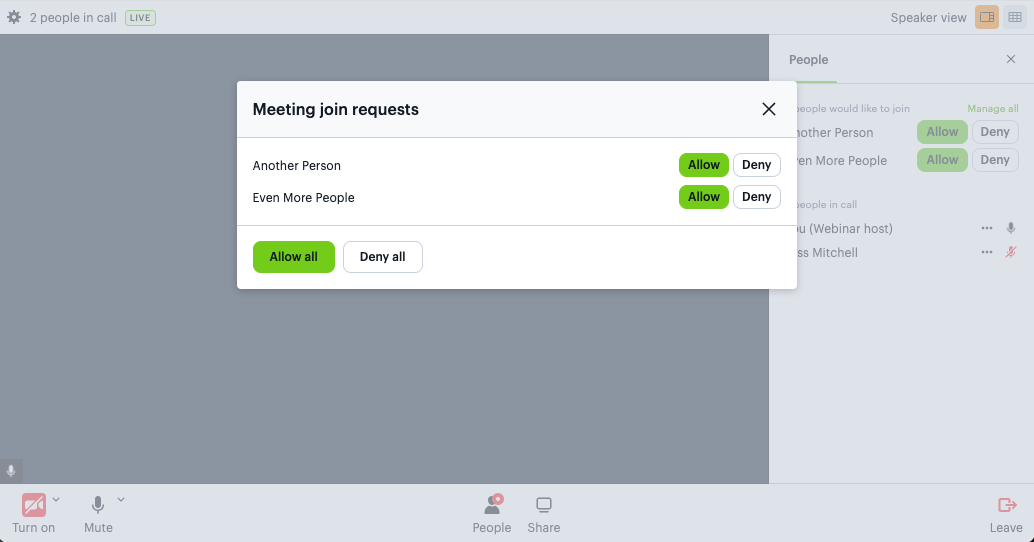
For multiple requests, there’s also a modal to admit everyone in one click.
This attendee has left the chat
One of the possible challenges unique to the webinar format is letting hosts interact with attendees without letting attendees interact with each other. Creating a sense of anonymity between guests means removing all references to call participants in the call UI.
To help accommodate this specific UX requirement, Daily Prebuilt hides the People panel for attendees if the Chat feature is turned off.
curl --request POST \\
--url https://api.staging.daily.co/v1/rooms \
--header 'Authorization: Bearer <API KEY>' \
--header 'Content-Type: application/json' \
--data '{"properties":{"enable_chat":false,"owner_only_broadcast":true},"name":"room_name"}'
Hosts will still have access to participant information, including the participant count, all admin features (like recording and screen sharing, if enabled) and the People panel, to see participant names. Hosts can also remove participants from the call from the People panel since the token they used gives them administrator privileges.
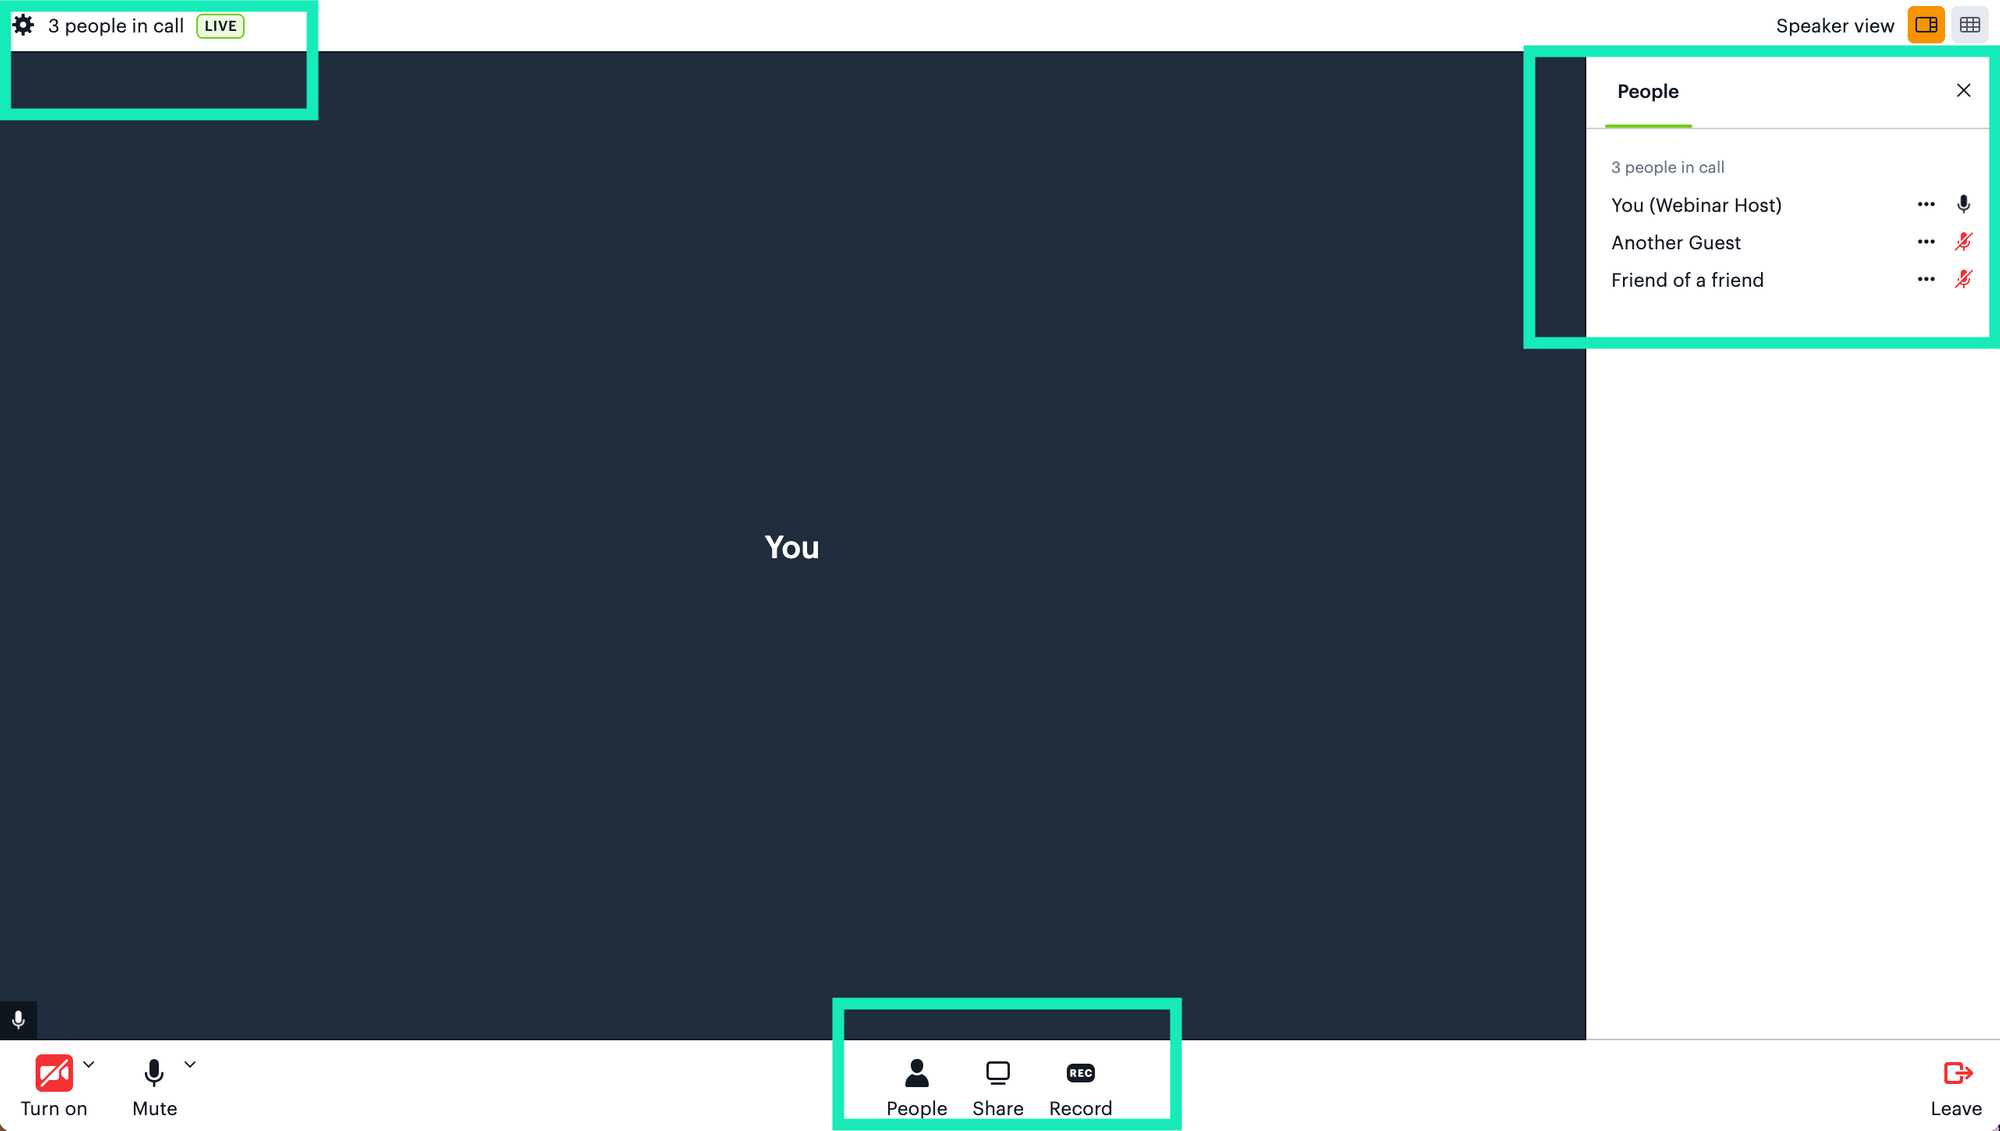
From the attendees’ perspective, a simple, clean UI is shown instead.
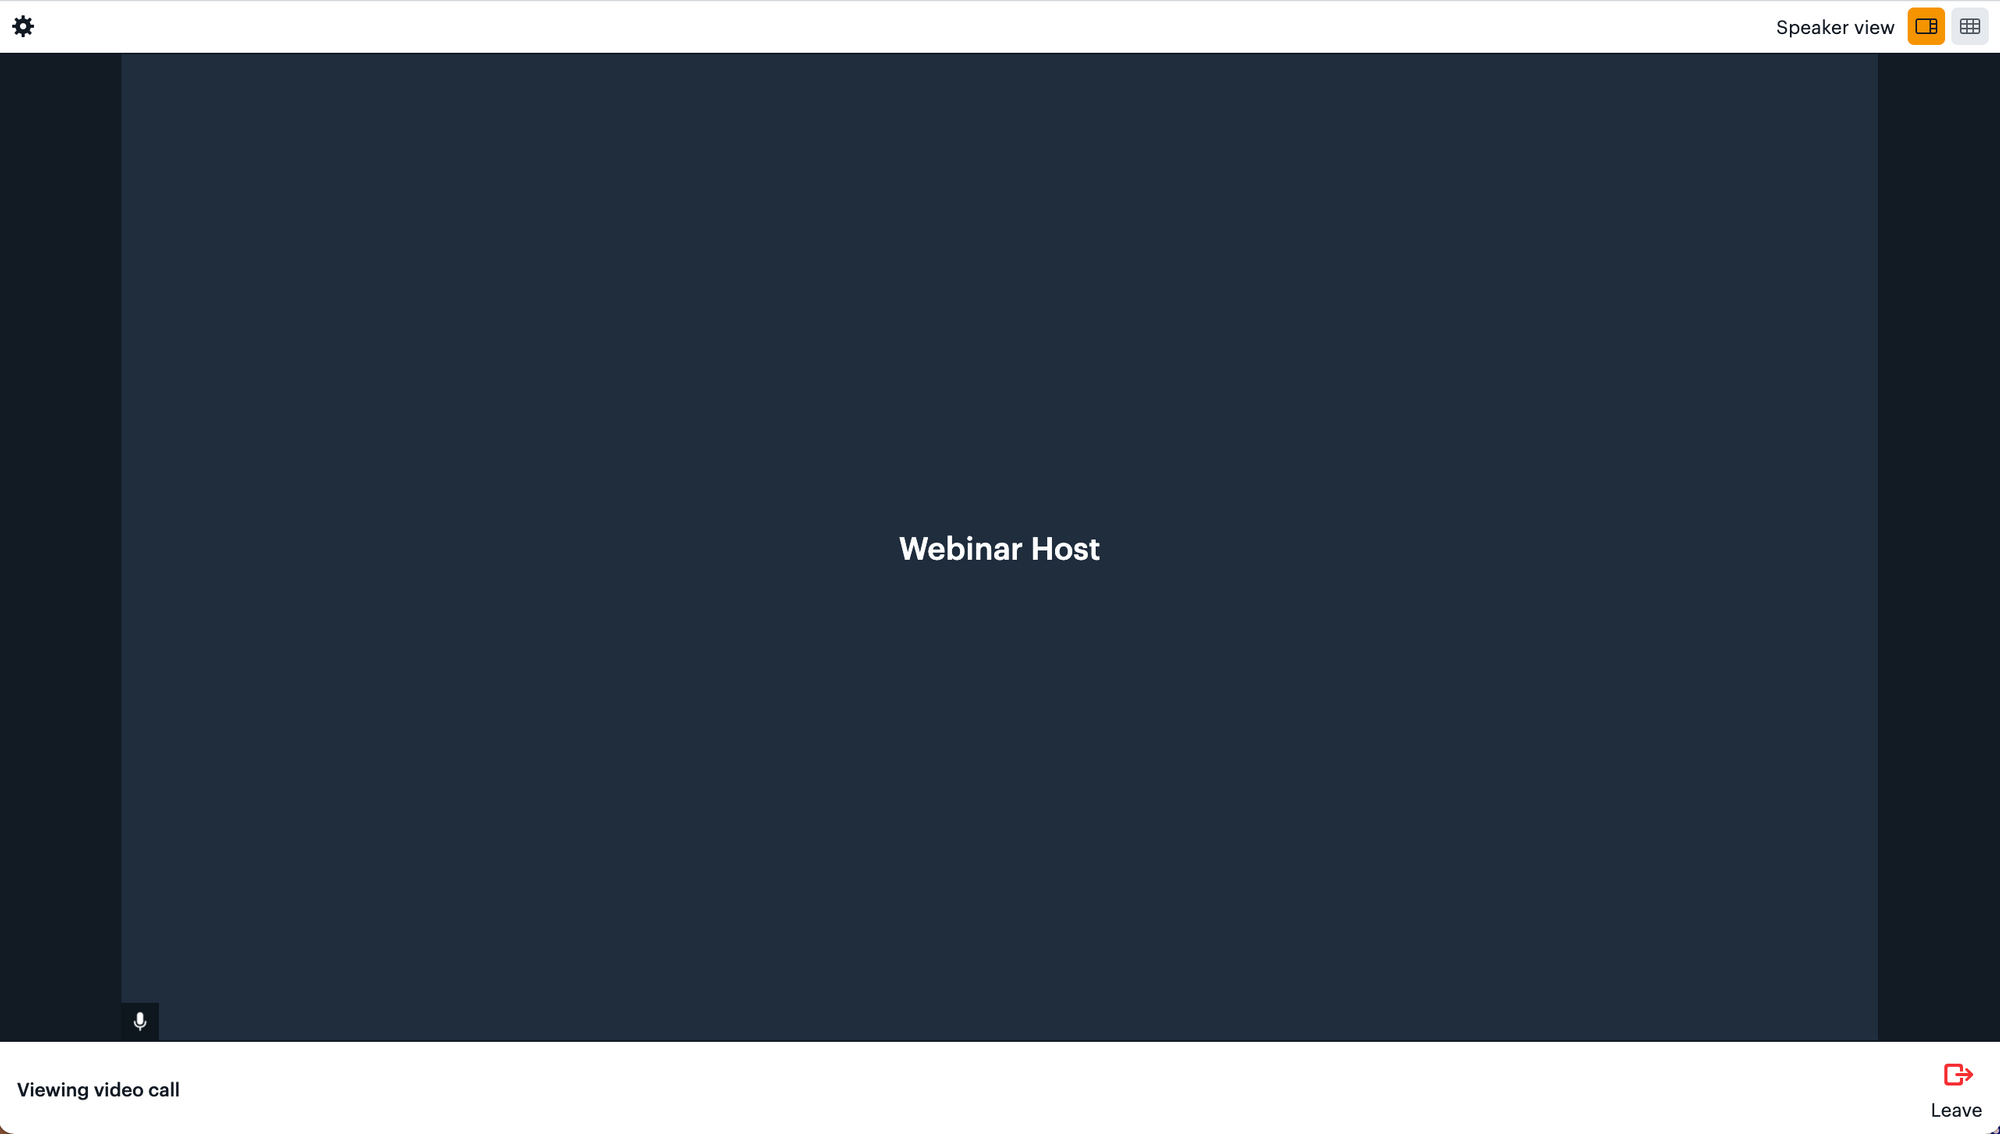
If you’re looking for this sense of anonymity between attendees but would still like to have the chat feature in a call, you can also build your own chat to go next to the embedded Daily Prebuilt. We cover this exact use case in our webinar demo and take a deeper look at building out chat functionality in some previous posts.
Additional updates in Daily Prebuilt
One common concern for broadcast calls is having participants try to join the room before the host. To help manage this, Daily Prebuilt now shows a waiting message for all broadcast call attendees. Attendees will not see the in-call UI until a host is present in public rooms and will instead see this view:
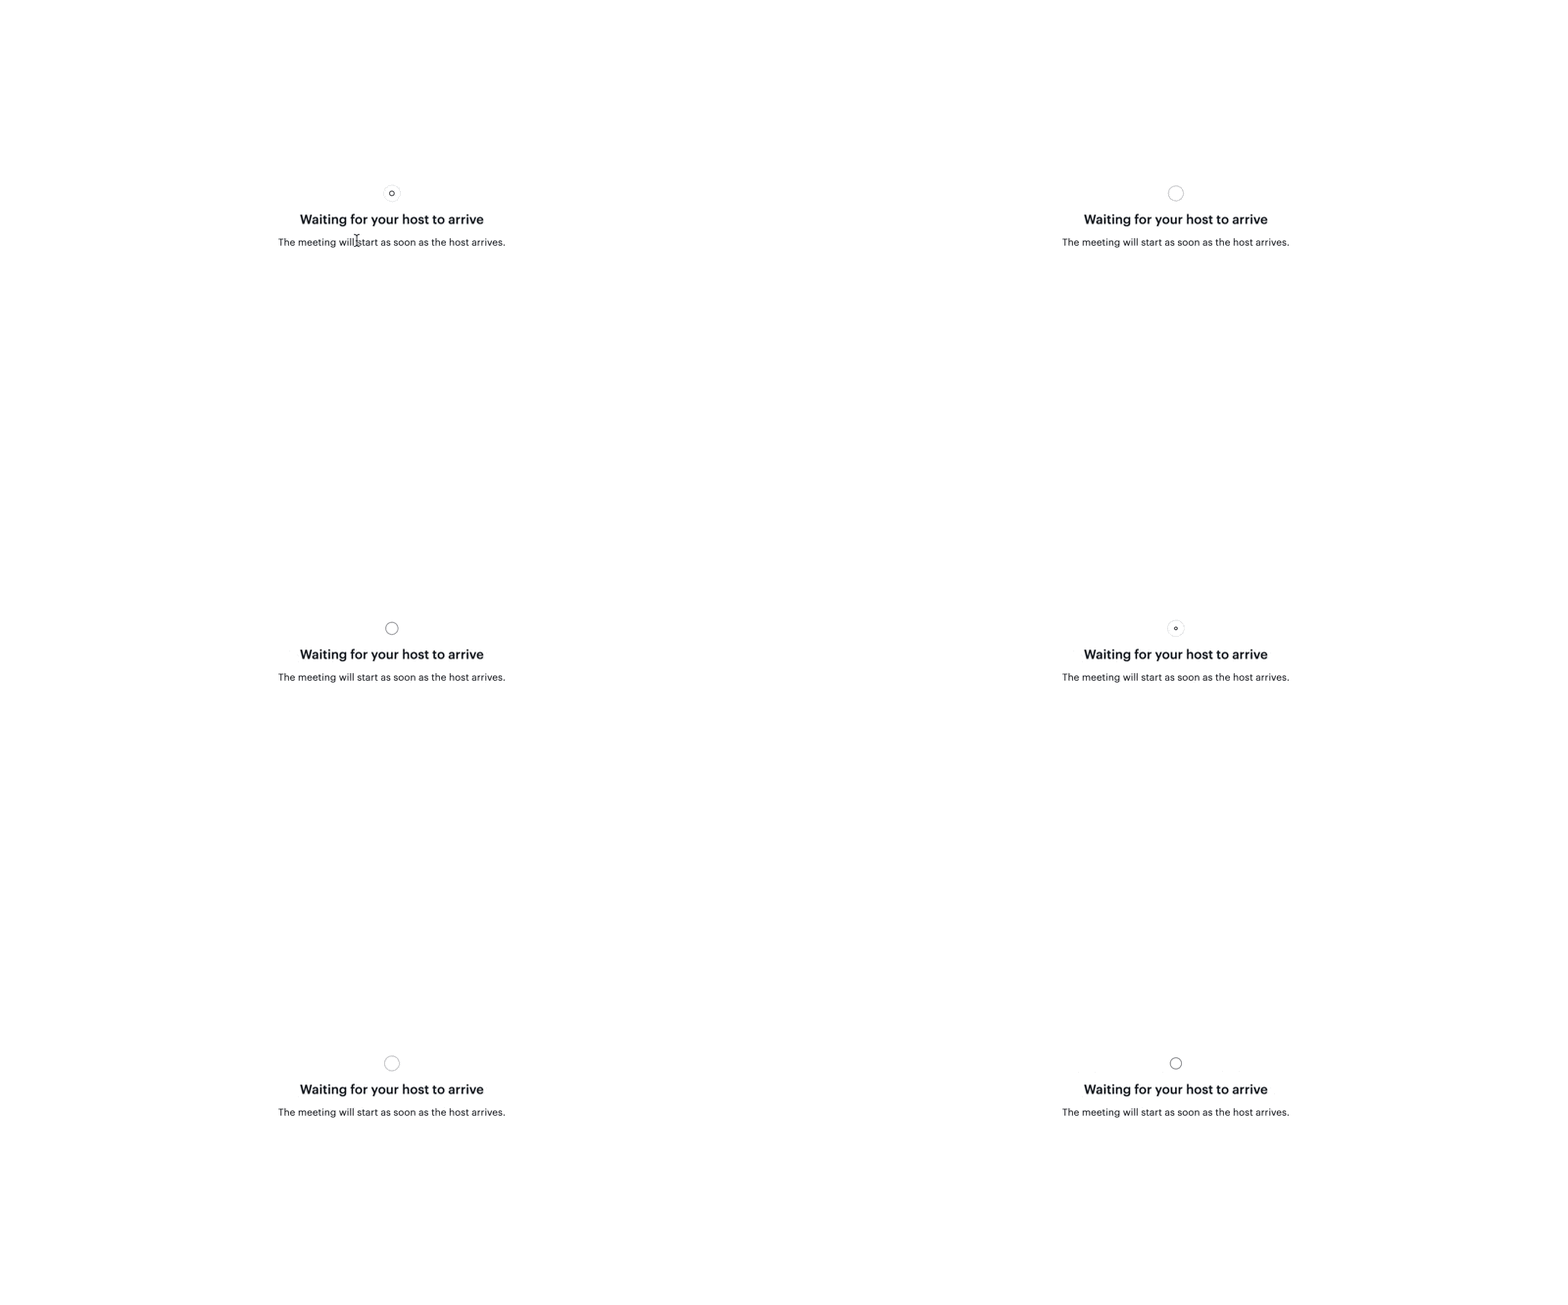
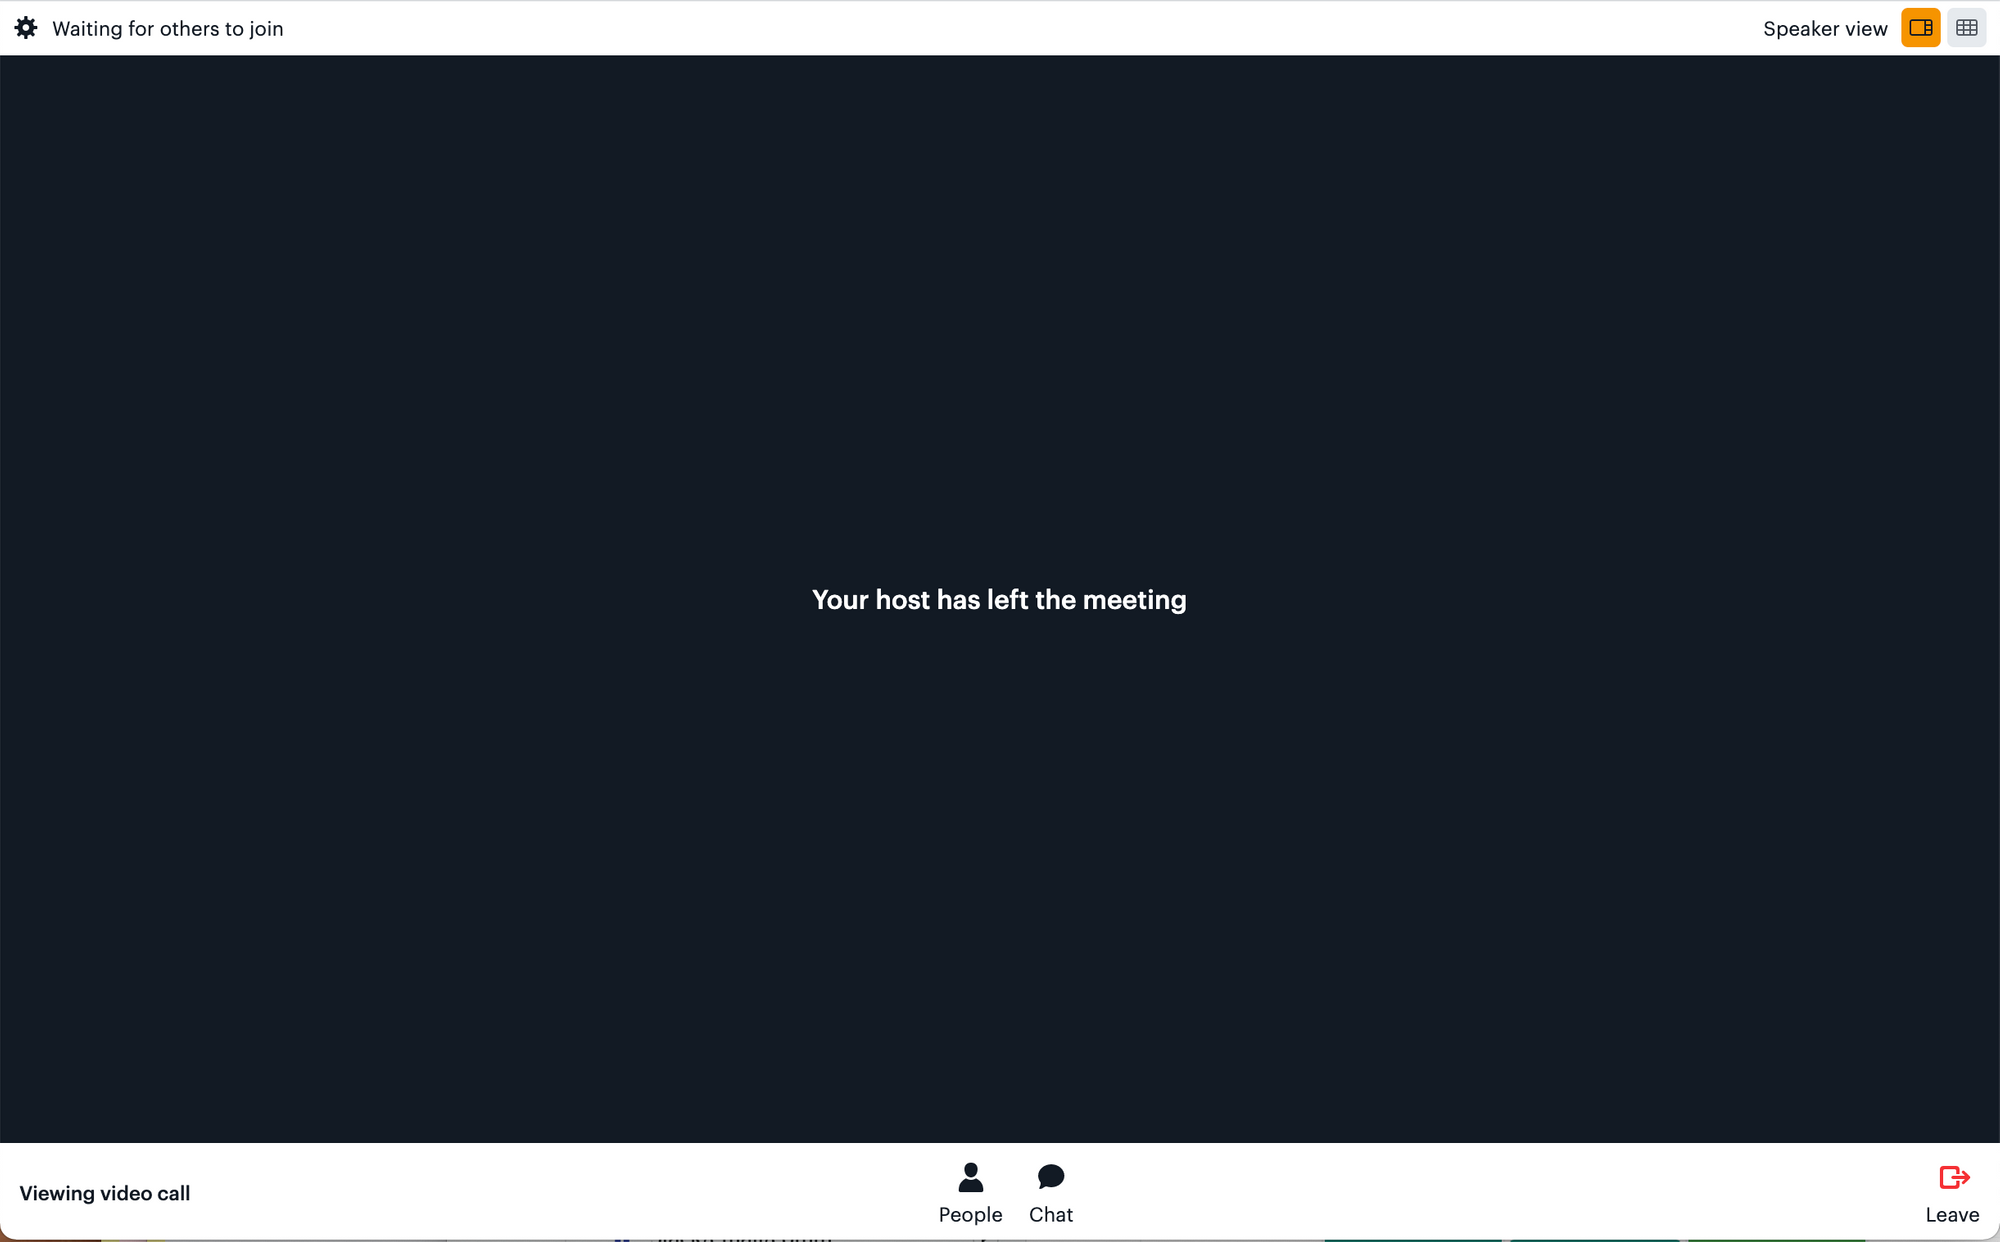
At the end of the call, a host may need to leave before every attendee has left the call. To make it clear the presentation is over, broadcast attendees will now see this view when no hosts are left:
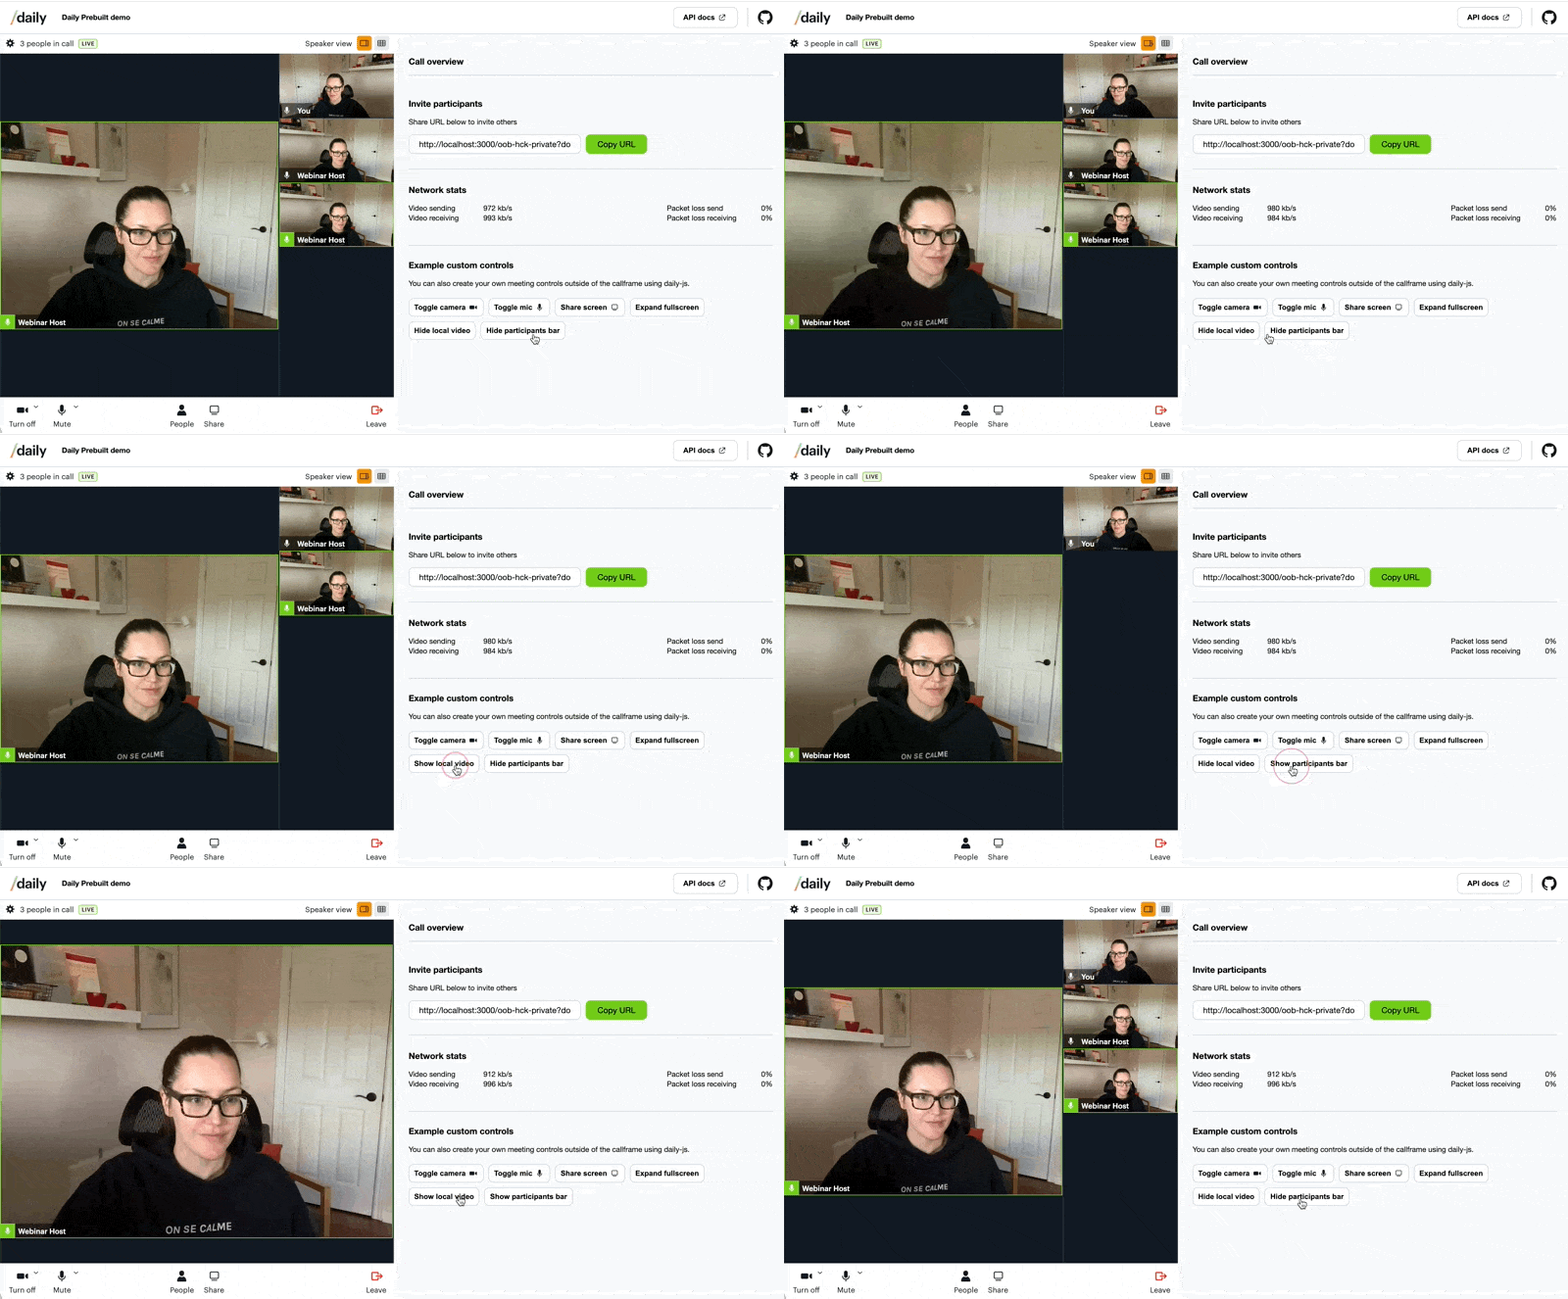
Additionally, to keep the call UI as clean as possible, participant tiles are only shown for participants who have device capabilities (i.e. hosts). This also means multiple hosts can be shown in a call in grid or speaker view.
To further simplify the UI for attendees when there are multiple hosts, the participant bar and local video can still be toggled off with setShowParticipantsBar and setShowLocalVideo.
To test this with your own calls, try it out with our Daily Prebuilt demo like in the example below.
Broadcasting the first stone
To use these newest broadcast call updates, be sure to turn the new Daily Prebuilt on by following our transition guide for existing customers. If you’re a new customer, it’s available to you by default. And, as always, let us know what you think! ✨

