Introduction
Since Daily’s Video Component System (VCS) was released earlier this year, we’ve been looking at various ways to use VCS to fine tune live streamed and recorded video layouts. This includes customizing layouts, adding splash screens, displaying toast animations, and how to add a moving watermark to your videos.
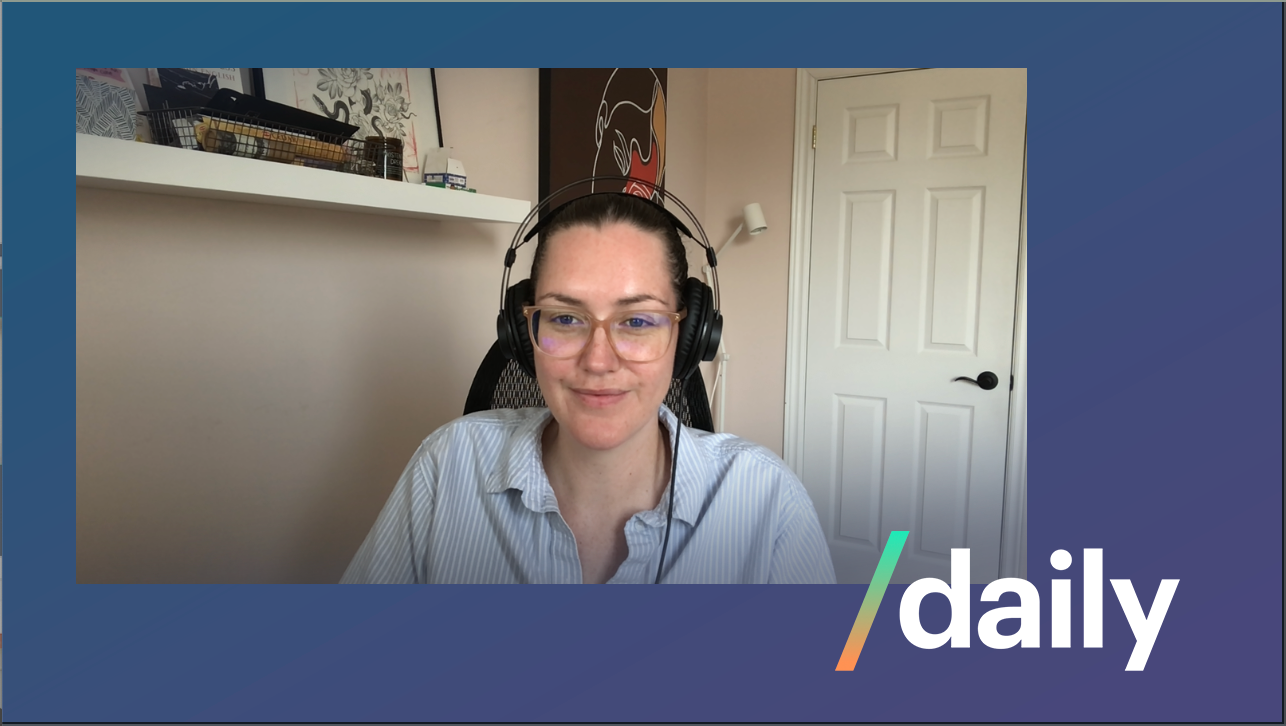
Today we’ll take a look at how to add a “frame” to your host’s video, either with a margin offset or a background image.
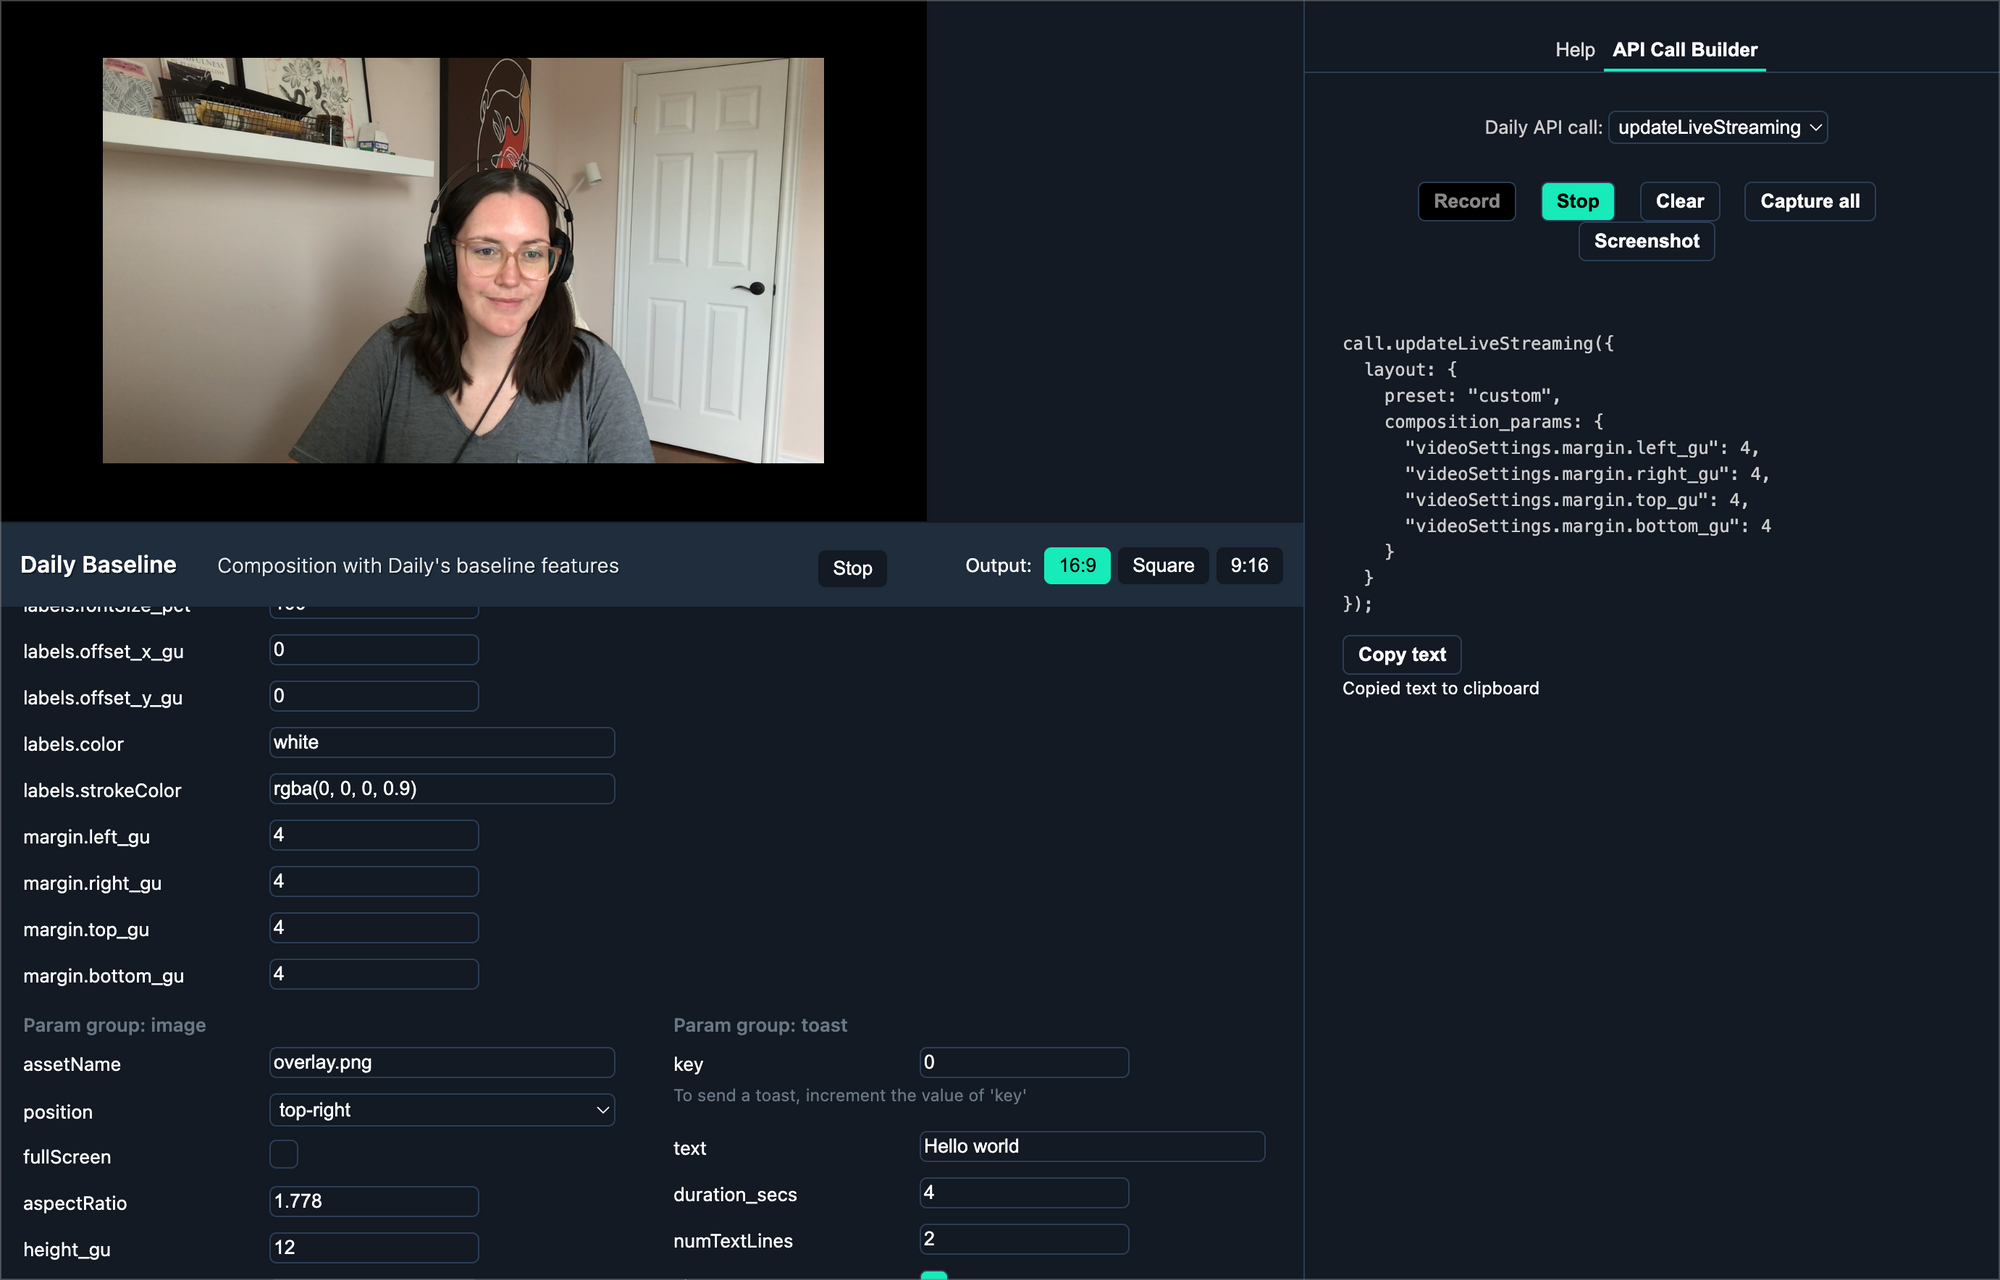
To test these layouts out, we’ll be using the Daily VCS Simulator. It provides all the options available through VCS’s baseline composition.
Wait, what is the baseline composition?
The baseline composition is Daily VCS’s default collection of layouts and graphical options that can be applied to your Daily live streamed or recorded video. To use the baseline composition, you will pass your configurations of choice as a JSON object when using live streaming or recording-related daily-js or react-native-daily-js methods, like startLivestreaming().
In terms of configuration options available, there is an extensive list in our VCS docs.
Today’s goal
As mentioned, today we’ll be testing out some layout options for a live streamed video that includes one host. We’ll see how to add a frame to the video with both a margin and a “background” image. (We have to add quotes because it’s techincally on top of the video. 😇)

To test these features, you can:
- Use the VCS Simulator
- Check out the
vcs-live-streamingbranch of the Daily Prebuilt demo app - Try these methods out in your own Daily app
If you’re not using the VCS Simulator, we'll assume you already have an application with Daily live streaming configured. This means you can start a live stream from your Daily call with the startLiveStreaming() method in your app.
await call.startLiveStreaming({
  rtmpUrl: 'RTMP_URL',
  layout: {
    preset: 'custom', // Gives access to VCS
    composition_id: 'daily:baseline', // optional (default value)
  },
});
To learn more about where to find your RTMP_URL mentioned in the code block above, read our live streaming guide or our tutorial on using Daily live streaming with Amazon’s IVS.
The code examples we’ll include below will be calling updateLiveStreaming(), available in both daily-js and react-native-daily-js. Therefore, our main focus below will be which baseline composition options to pass to updateLiveStreaming() to see our frame features applied.
Adding a “push back” margin to our host’s video
Let’s say you want to show a video in your live stream but don’t want it to fill the whole screen. Instead, you prefer a frame around the video(s).
We can accomplish this by setting our video margins, like so:
await call.updateLiveStreaming({
  layout: {
    preset: "custom",
    composition_params: {
     "videoSettings.margin.left_gu": 4,
     "videoSettings.margin.right_gu": 4,
     "videoSettings.margin.top_gu": 4,
     "videoSettings.margin.bottom_gu": 4
    }
  }
});
Note: Any of the baseline composition options you want to use must be included in the composition_params object.

Here’s a video to see how we achieve this with the VCS Simulator, in case you haven’t used it before:
The video margins used here are causing what we refer to as a “push back” layout, since it’s pushing the video back from the edge of the frame.
This gives our host’s video a little room to breathe, but we can likely agree the styling is a bit simplistic.
Push back, but fancier
You might be thinking, “Great, I can add a margin to my video, but what I actually want is a fancy background, not just a black void.” (Don’t we all.)
We have a solution for that, although you might need to bug a designer for some help depending on your Photoshop or photo-editing skills.
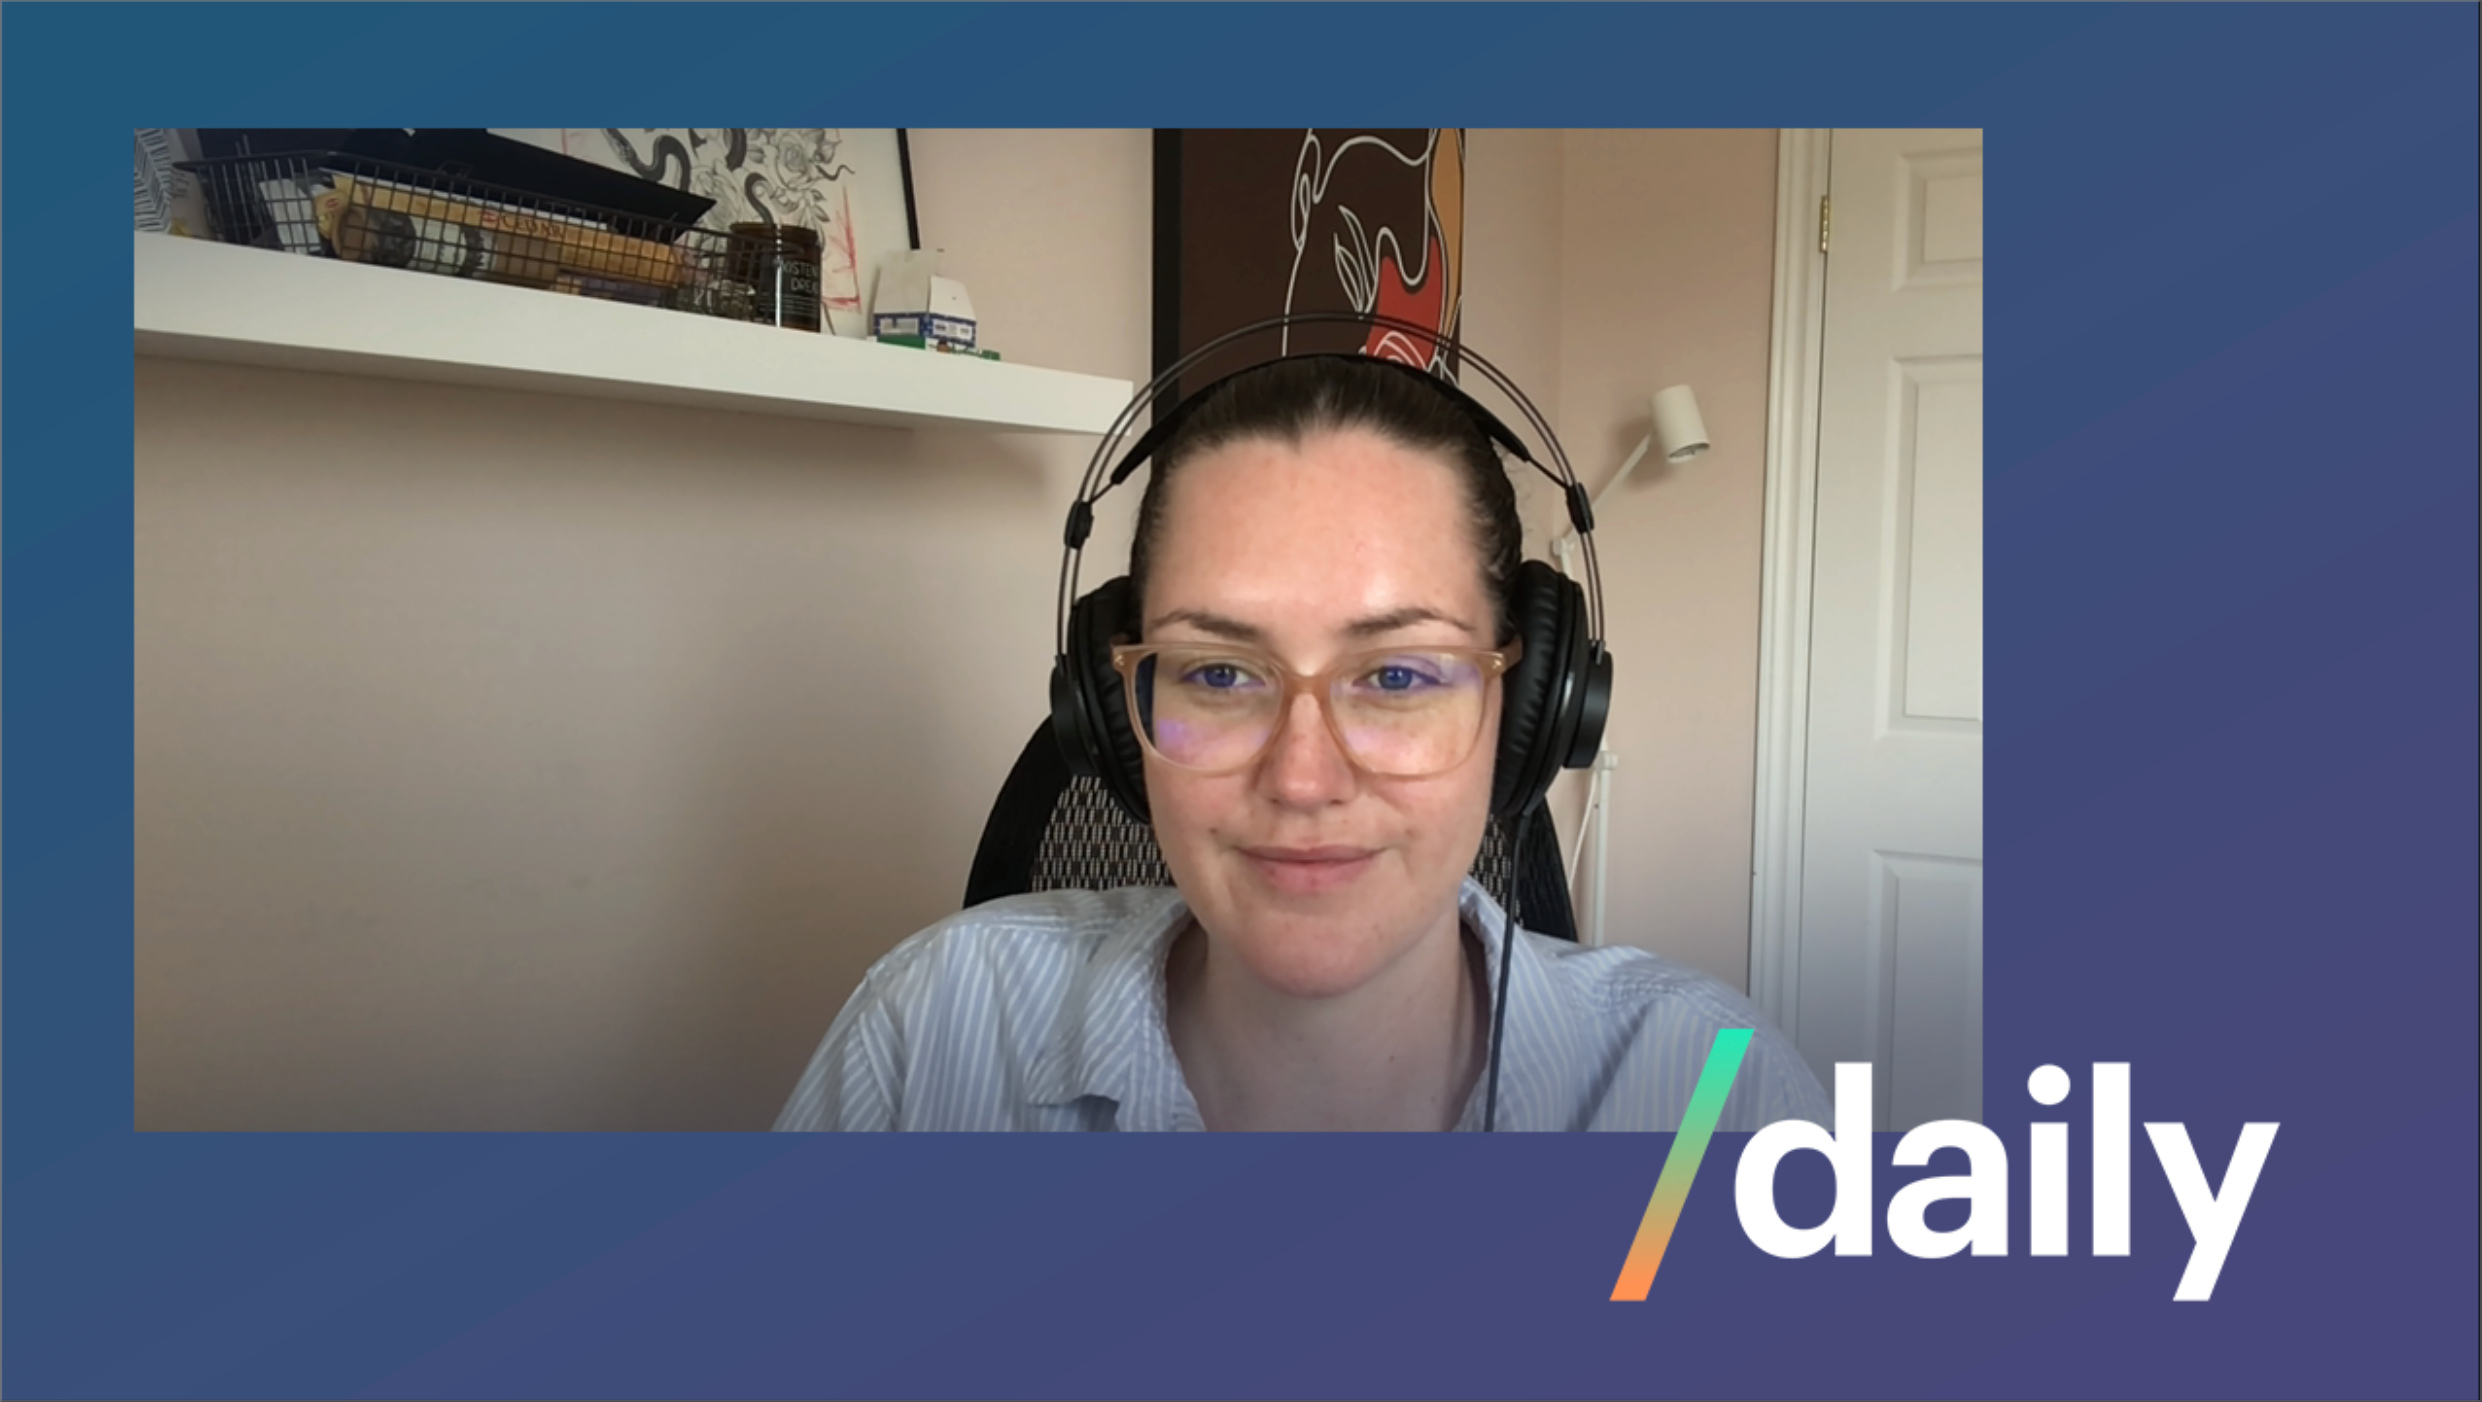
One quick way to add a styled frame to the host’s video that has a bit more flair is to use an image with a transparent center. The transparent part will “cover” your video but, since it’s transparent, the viewer will just see the non-transparent frame.


To get this effect, you can include your frame image in the session_assets when you start the live stream.
Note: Session assets must be provided when the live stream is started. They cannot be added later in the updateLiveStreaming() options.
await call.startLiveStream({
  layout: {
    preset: "custom",
    session_assets: {
      'images/customPushbackImage': 'https://example.com/foobar.png',
    }
  }
});
To actually display the image, we will use the showImageOverlay, image.fullscreen, and image.assetName composition parameters.
await call.updateLiveStreaming({
  layout: {
    preset: "custom",
    composition_params: {
      "showImageOverlay": true,
      "image.fullScreen": true
      "image.assetName": "customPushbackImage",
    }
  }
});
These could have been passed when you started the live stream, too. It just depends on whether you want the video frame to show when the live stream starts or during a specific segment of the live stream.
You may also want to keep the margin properties used in our first example above. By adding both the image and the margin frames, the video can sit “inside” the transparent part of the image, instead of having its edges covered. Again, this is up to you and how you want the end result to look. 💅

And with that, our host’s video has a fancy frame around it and even has our company logo included too.
Wrapping up
We hope this tutorial sparks a new idea with how to use Daily’s VCS to improve your live streams and video recordings. To learn more, check out our other VCS tutorials and guide.
To customize your videos beyond what the baseline composition offers, read our VCS SDK announcement post and documentation. The baseline composition was built with the VCS SDK and we’ve open sourced it to let you customize VCS to meet all your live streaming and recording needs. 🚀

